How to Create Embossing Data for Embossed Labels
TOC
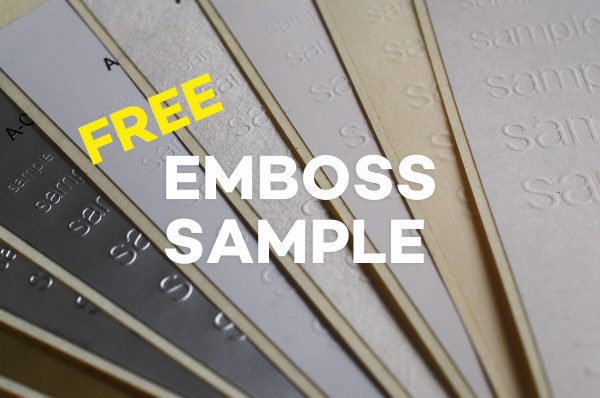
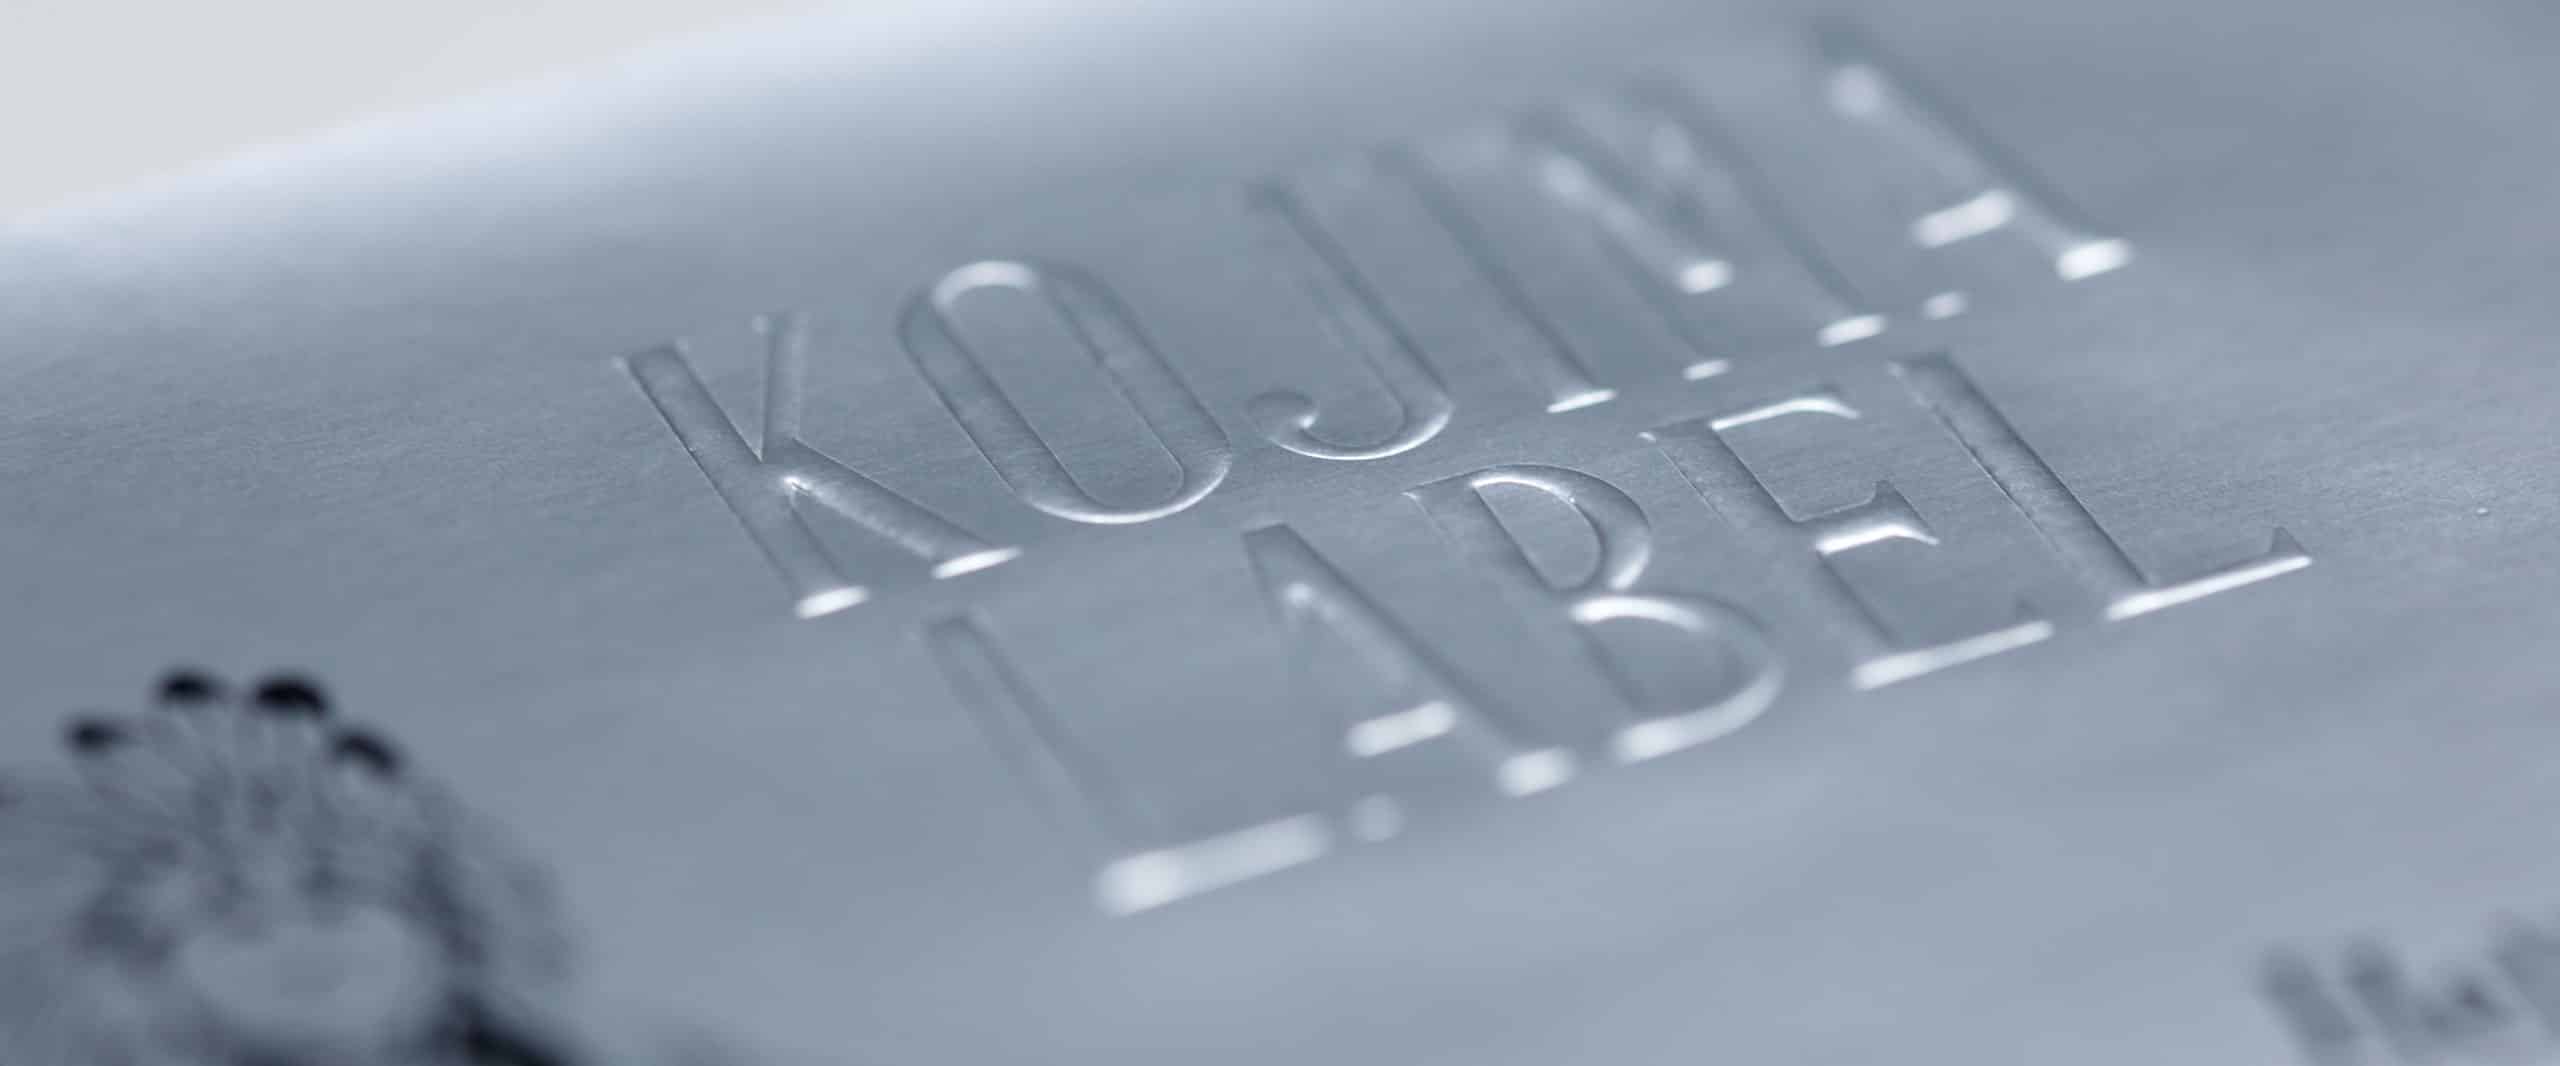
Embossed Label Data
When requesting embossed labels from a printing company, you will need data for embossing. The printing company reviews this data and thinks, "Ah, so we need to reproduce this part with embossing. Got it!" This time, we'll explain how to create data for embossed labels. We hope you find this useful when creating your design data.
For more information about embossed labels, please see below.
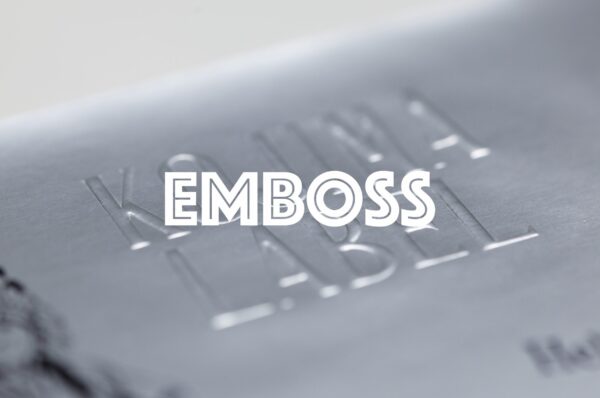
Explanation of Embossed labels
Data in AI (Illustrator)
Please create the data in Adobe Illustrator.
In conclusion, you only need to make the "parts to be labeled K:100% (black) and the rest K:0% (white)." It's very simple.
The idea is to label and flatten the K100% parts, while the other parts will protrude forward. In other words, the data indicates which parts to label with embossing.
You will understand by looking at the illustration.
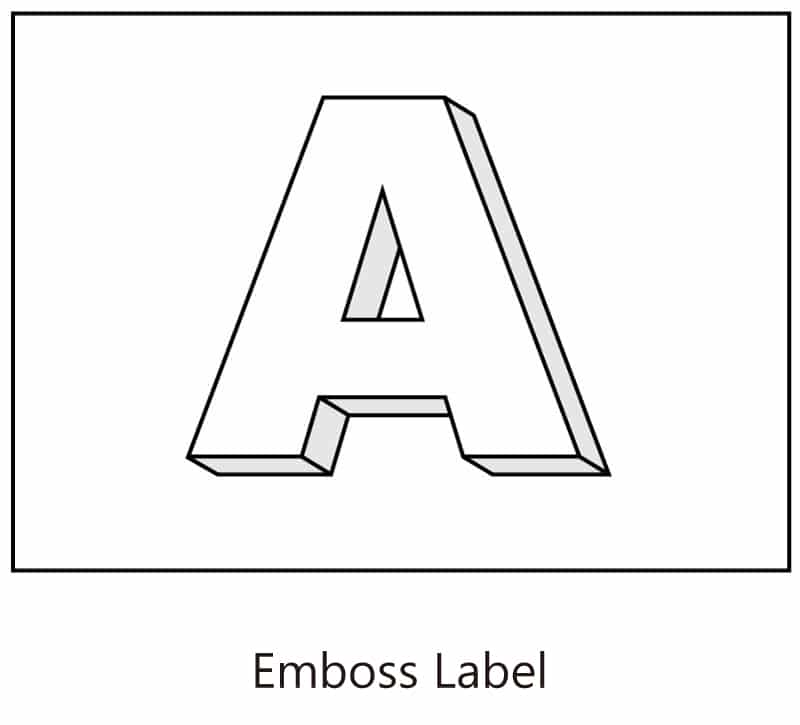
For example, if you want to create an embossed label with the letter A protruding as shown above,
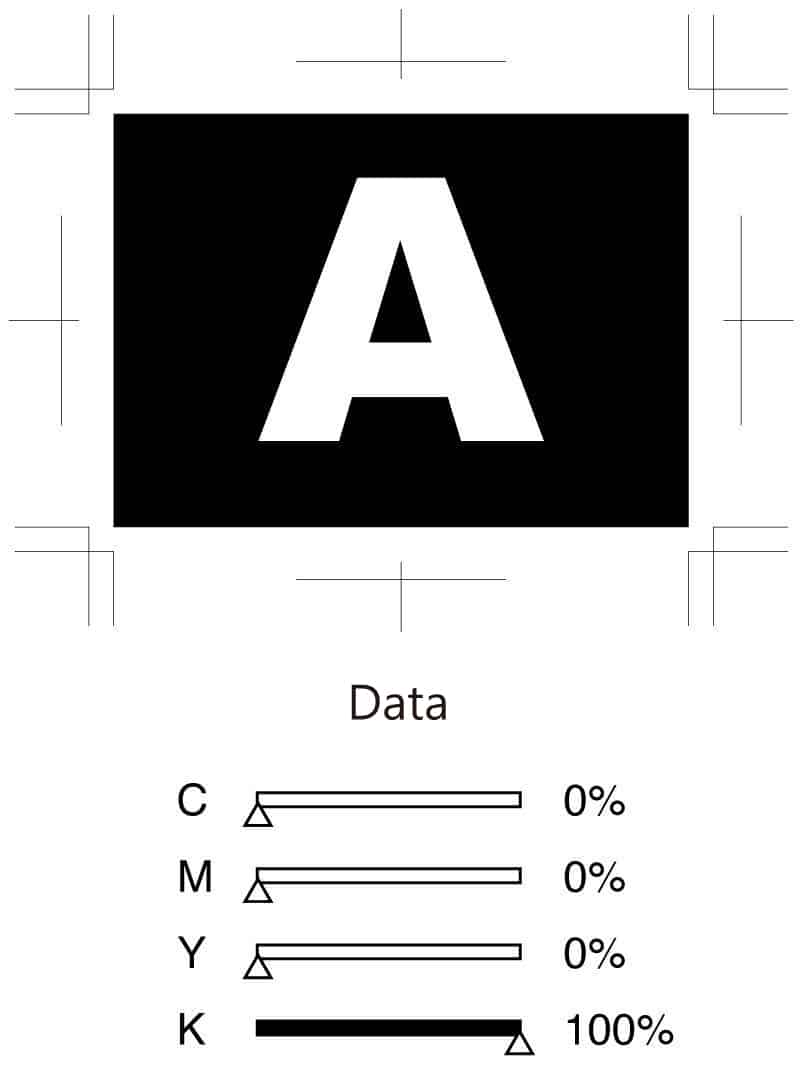
This is the data you need. As you can see, the K100% part will be indented, and the rest will protrude. It's very simple.
Design Considerations
Here are some points to keep in mind when creating the data.
Cannot Protrude the Edges
A key point to remember is that the K:100% (black) part must reach the edges, as in the "A" data mentioned earlier. The entire area up to the cut line of the label must be filled with black.
For instance, you might want the edges to protrude with embossing. However, this is not possible with labels. The edges will end up floating.
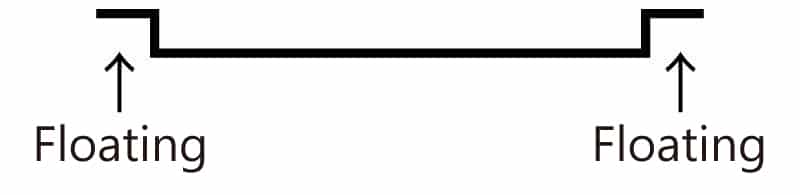
What this means is that, as shown above, when you look at the label from the side, you can see that the edges are floating. Floating edges won't look good and may attract dust to the adhesive part, so it's not recommended.
Since the label material itself is thin, it can only be embossed. It cannot be debossed like a letterpress business card.
An "Embossing" Layer is Necessary
If the design includes both printing and labeling, please create a separate layer for labeling. It is often the case that submission data does not include a labeling layer or instructions. To avoid any mistakes in the final product, we do not accept verbal instructions and require resubmission of the data. Not having separated layers will halt the process, so please ensure to separate the layers.
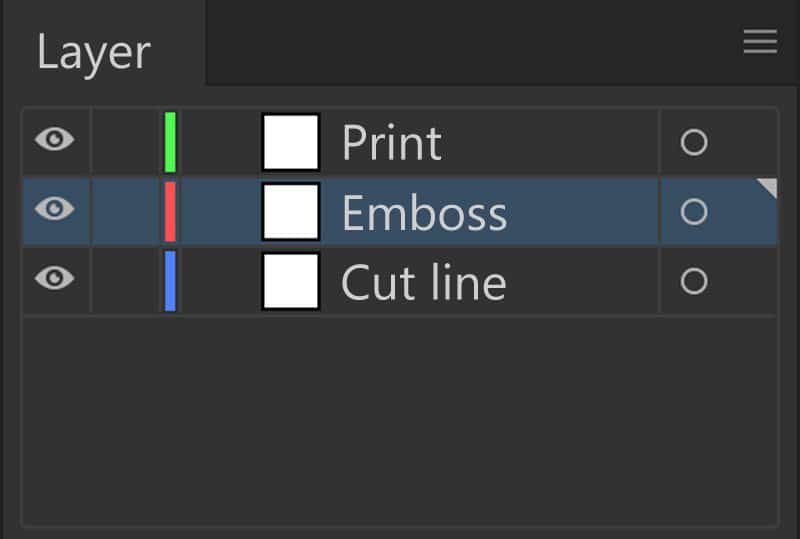
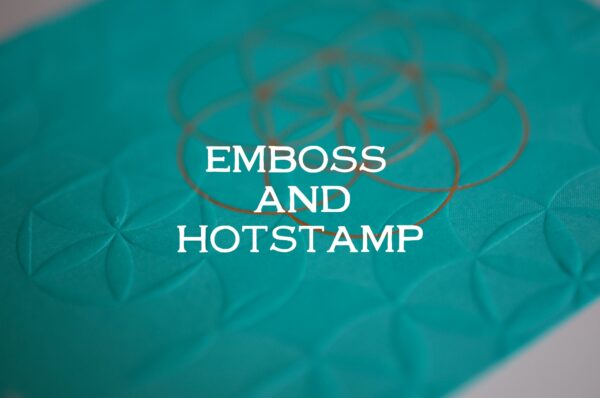
When requesting printing and embossing, please structure the data into three layers: "Printing," "Labeling," and "Cut Line." (This will make it perfect!)
To manipulate layers, click "Window" on the top toolbar of Illustrator. From the list that appears, click "Layers." (Window → Layers)
When the Layers window appears as above, click the three lines at the top right and select "New Layer" to add a new layer. Rename the new layer "Labeling." (Three lines → New Layer → Rename to "Labeling") Let's also create a layer for the cut line.
That's all for creating embossed label data. For basic submission guidelines for printed materials, please see below.
Illustrator Submission Guidelines
Embossed Stickers | Product Page
Design the surface texture.

Start Your Project Now!
Contact Us or Get a Quote!