Foil Stamping Process for Stickers | A Step-by-Step Guide

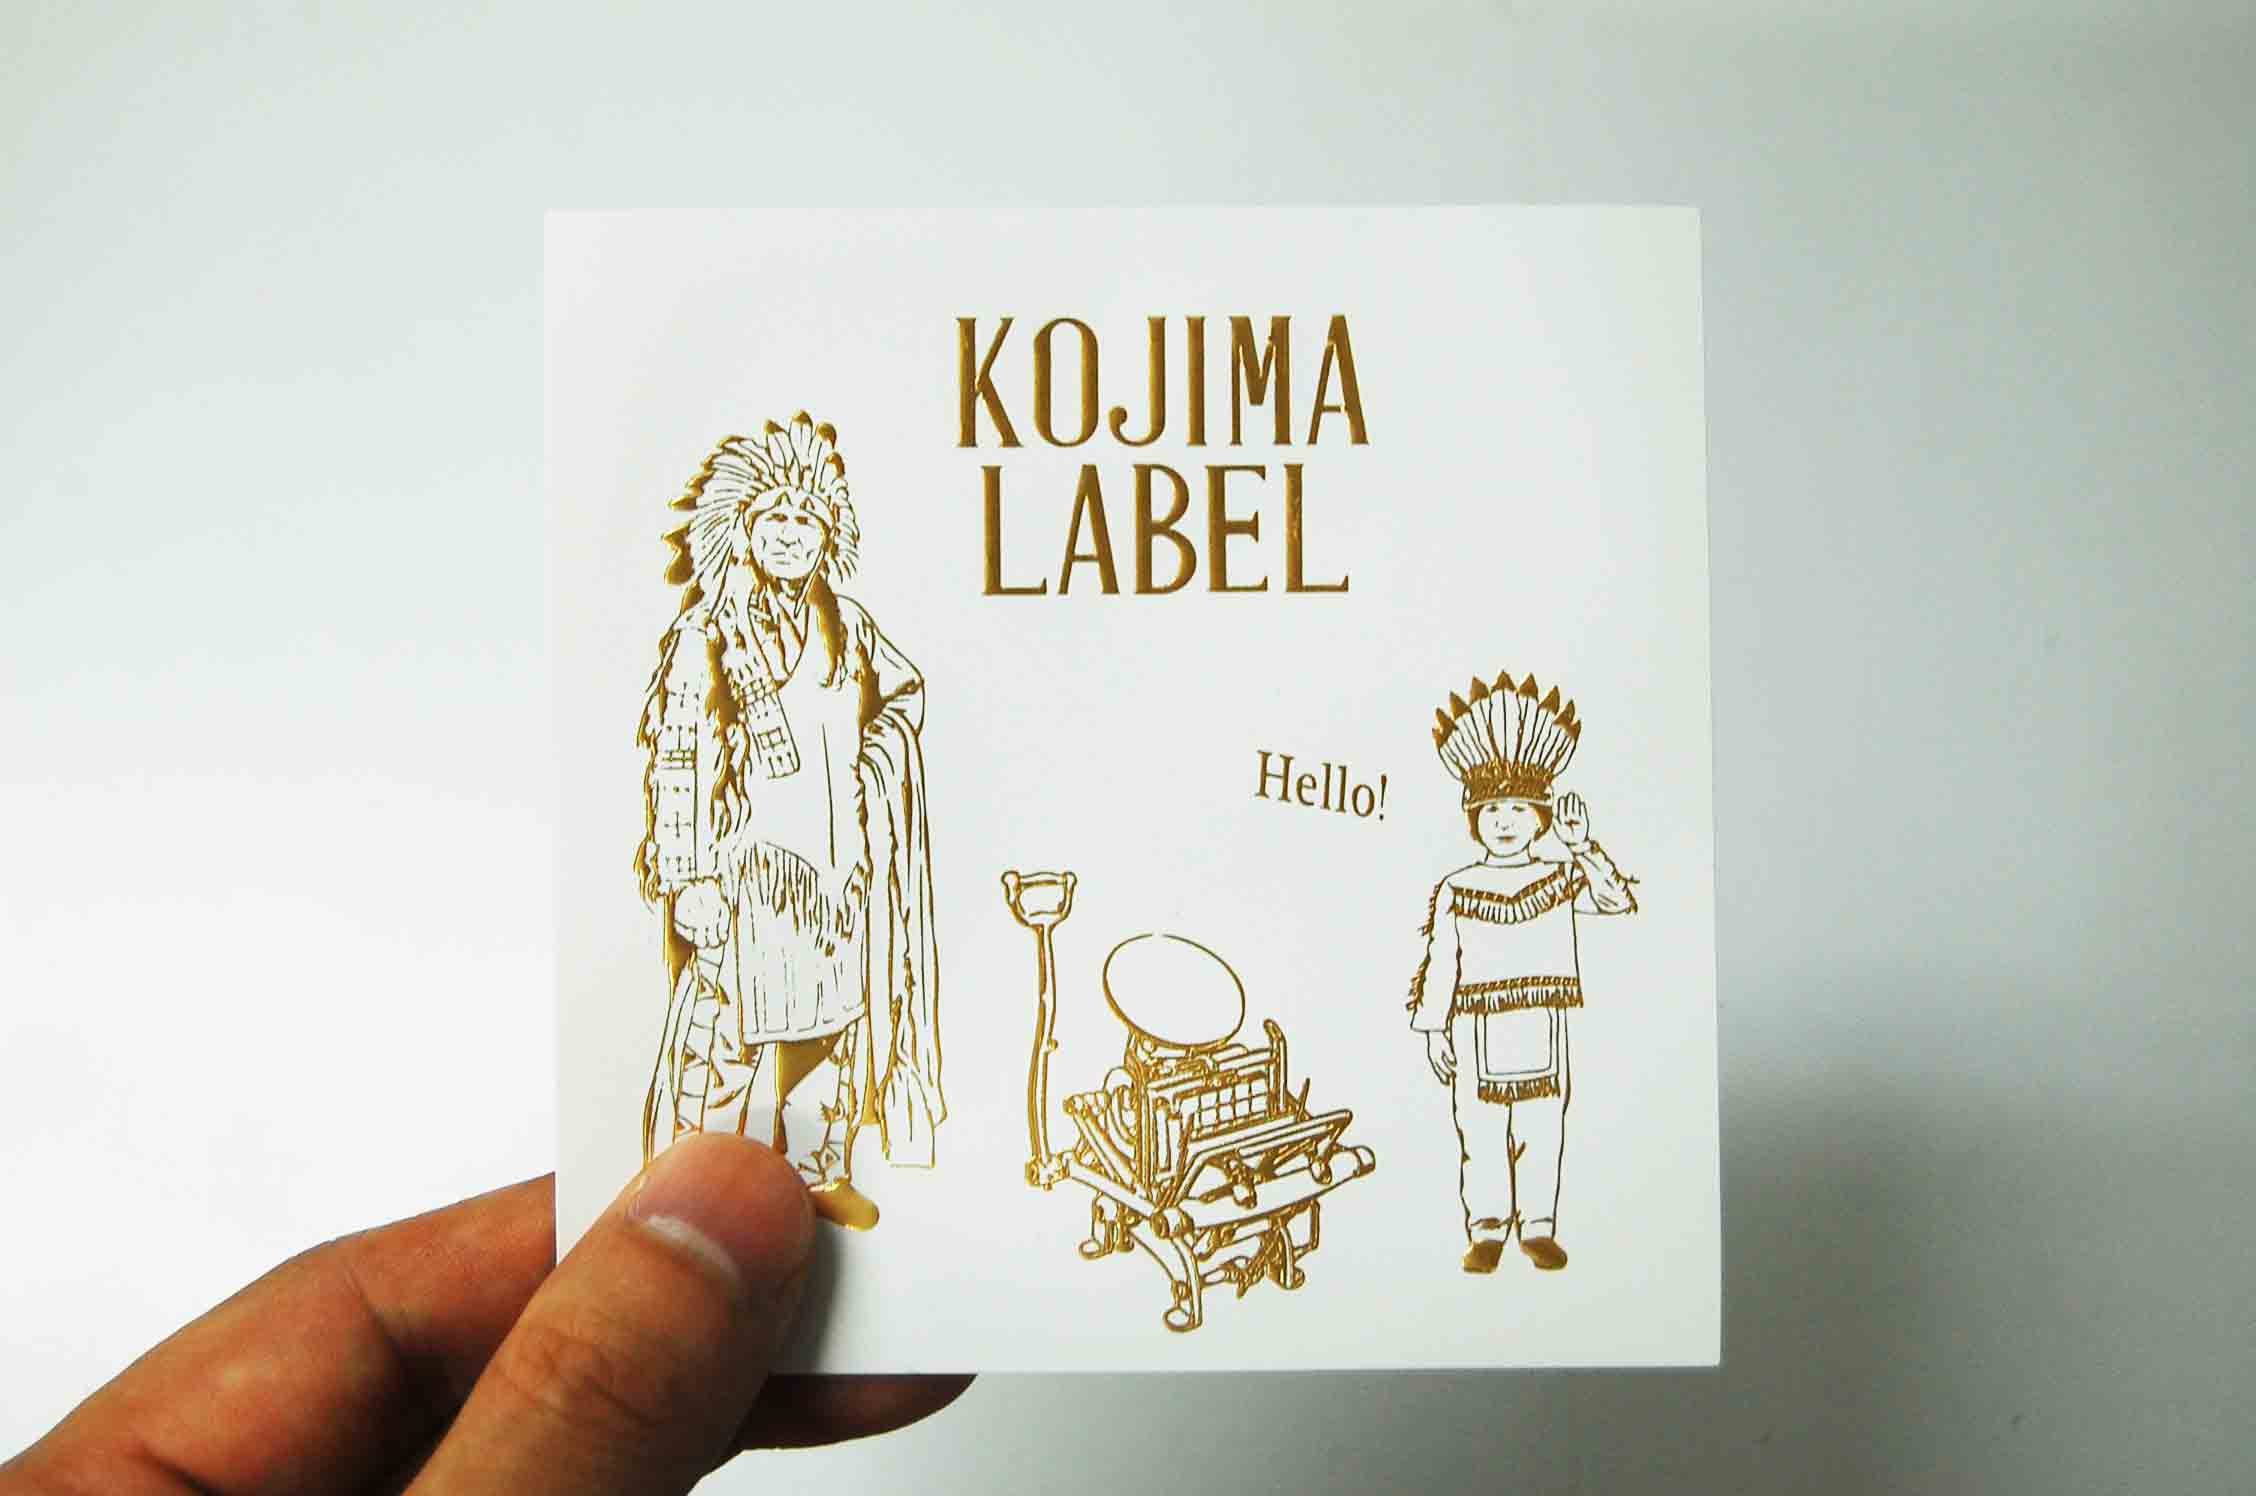
Foil Stamping Process for Stickers can elevate product packages with a touch of luxury. For example, imagine high-quality paper with illustrations and text printed on it, and the product name featuring white gold foil stamping. Even a small touch of foil can have a significant impact.
This page provides a clear explanation of the foil stamping process, from basic steps to identifying quality products, making it easy for beginners to understand. We hope you find it helpful for ideas on creating product seals and labels.
Please feel free to contact us.
What is Foil Stamping?
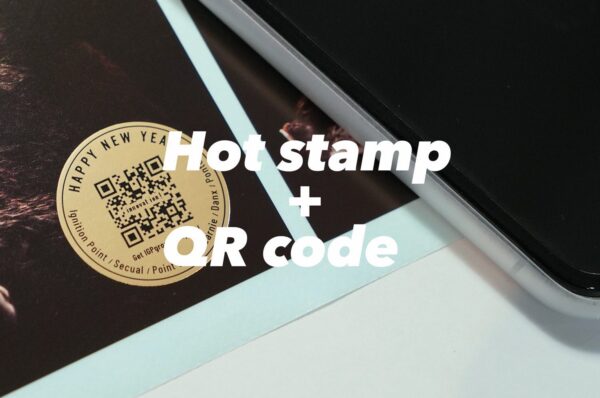
Have you ever seen a package with a brand logo or product name embossed with shiny gold or silver foil? That’s foil stamping. In English, it’s called hot stamping, and it’s an ancient printing method. The foil-stamped seal is referred to as a foil stamping seal.
Processing Method
Foil stamping is a technique that uses a specialized foil stamping machine to transfer foil onto a surface using heat. (Note: There is also a cold foil method, but this explanation covers the heat transfer method.) The materials needed to create foil-stamped seals are as follows:
・Tack Paper
・Foil
・Copper Plate (Note: Zinc plates can also be used)
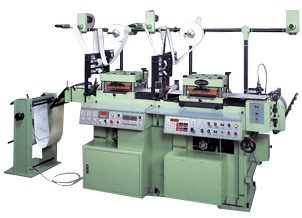
First, set the tack paper, which will be the base of the seal, into the foil stamping machine. Generally, coat-type paper is known to work well with the Foil Stamping Process. Compatible materials include high-quality paper, art paper, foil paper, and washi paper, etc. Next, set the foil into the foil stamping machine.
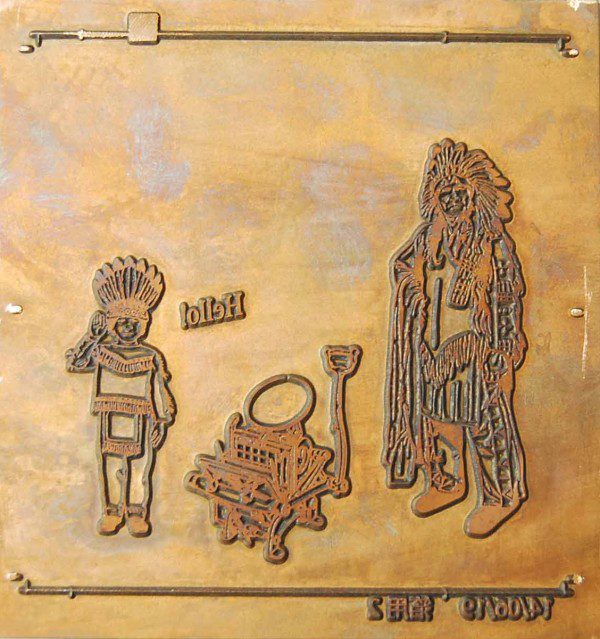
Finally, set the copper plate into the press section of the foil stamping machine. Heat the set copper plate gradually to around 100 degrees Celsius to complete the preparation.
Next, place the foil on top of the previously set tack paper. Apply pressure with the heated copper plate to transfer the foil. During this process, adjust the pressure, temperature, and speed of the machine as needed.
Large areas of foil, such as solid areas, are more prone to pinholes (dots where foil is not transferred), testing the skill of the craftsman. Once good products are produced smoothly, the rest is up to the foil stamping machine. The operator then shifts to checking for defects in the products.
What Makes a Beautiful Finish?
A beautiful foil stamping finish means that the details of the transferred foil are clearly reproduced, and there are no pinholes. Detailed designs require skilled copper plate creation and foil transfer techniques. Fine designs need careful handling as the foil transfer can spread and become distorted during processing.
Also, if some foil remains and the foil silhouette becomes uneven, it results in poor appearance. This is usually caused by poor compatibility between the material and foil, or the foil plate's reproduction quality.
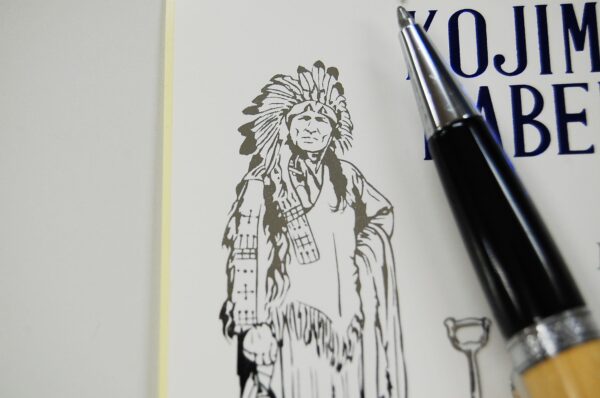
For a more beautiful finish, knowledge and experience in selecting the right type of foil for the back transfer based on the material are essential. Foil stamping quality is related to three factors: material and foil compatibility, copper plate precision, and the skill level of the craftsman.
If you are concerned about the finish, it is recommended to conduct a proofing test (a trial run identical to the final production). If time and cost are limited, have the printing company review the design digitally. They should provide suggestions for any necessary corrections.
If the design is too delicate, it may be physically impossible to reproduce, so it’s advisable to check with each printing company in advance.
Foil Comes in Many Colors
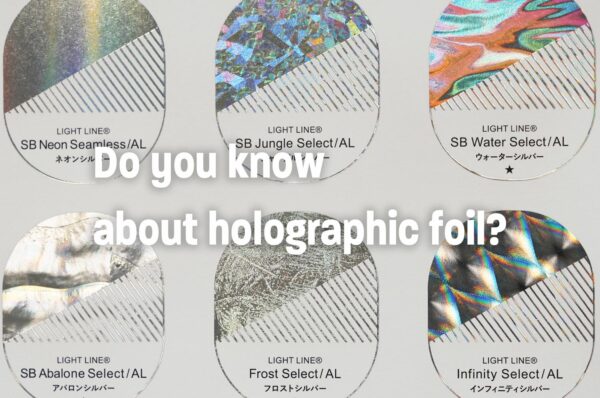
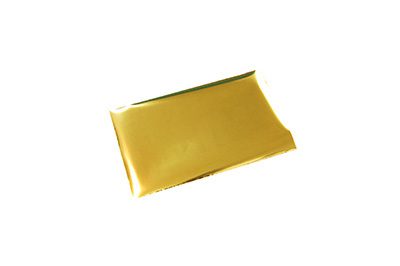
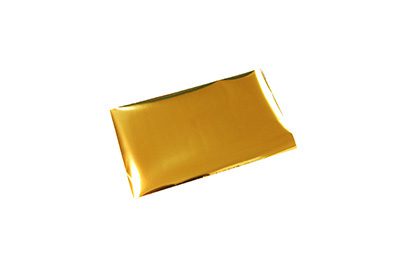
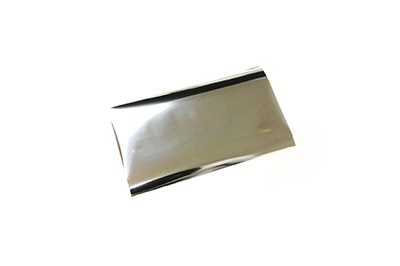
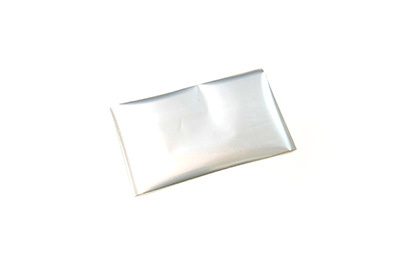
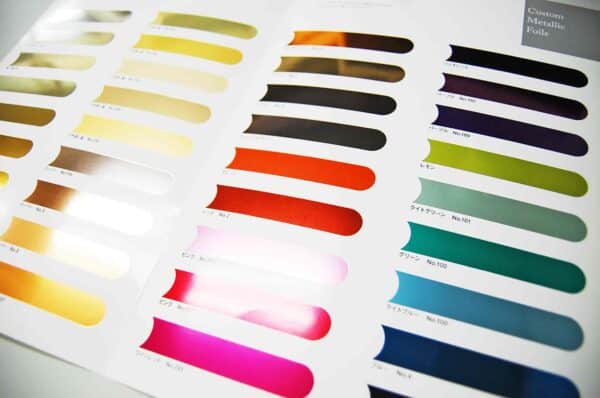
The basic foil colors are "gold" and "silver." Gold comes in 14 variations, while silver has 3 variations, with gold offering a wider range. Additionally, there are special colors such as primary colors, pastels, holograms, and pearls. Be sure to request foil samples from seal printing companies.
Here, we introduce some of the foil colors. We hope you find the color you’re looking for.
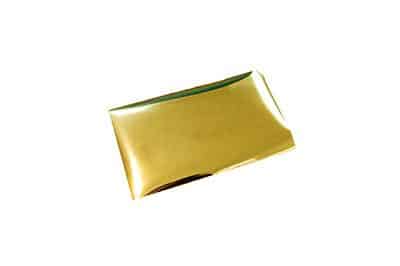
Gold No.2
Gold No.3
Gold No.26
Silver Standard
Silver No.2B
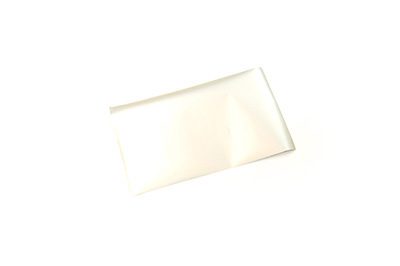
Silver No.24
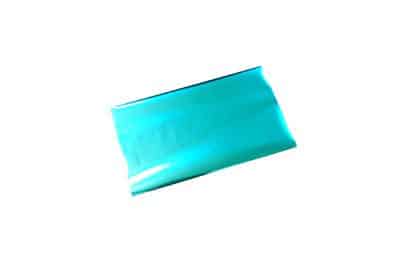
Fresh Water
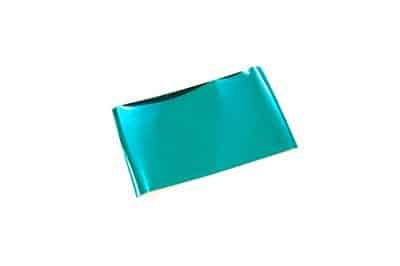
Sky Blue
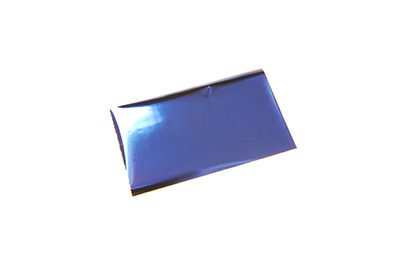 Blue
Blue
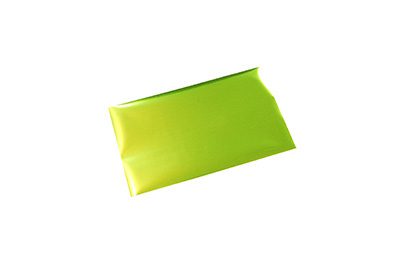
Kiwi Green
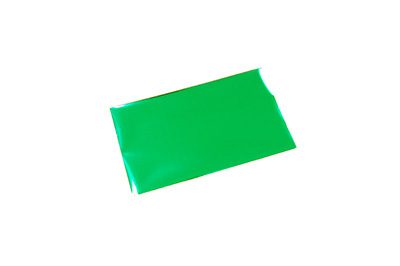
Green
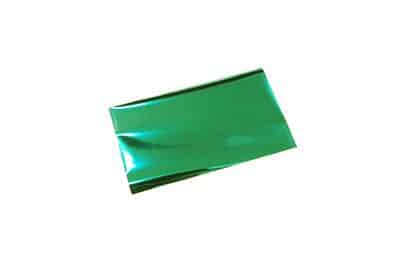
Green Lake
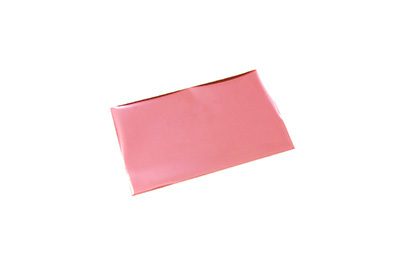
Pink
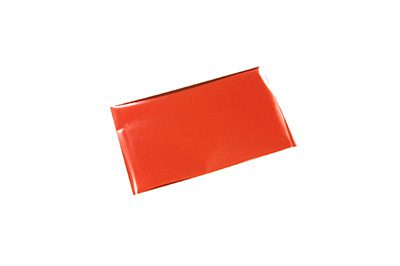
Red
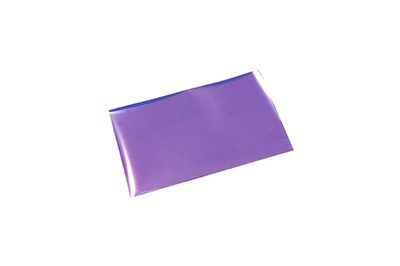
Purple
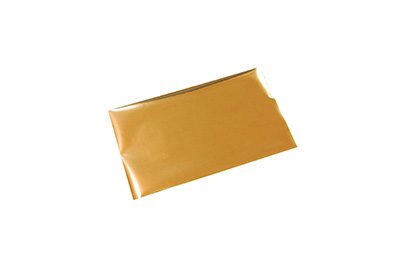
Whiskey Brown
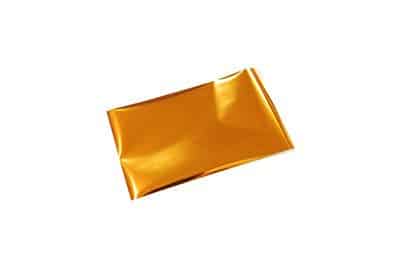
Sunset Orange
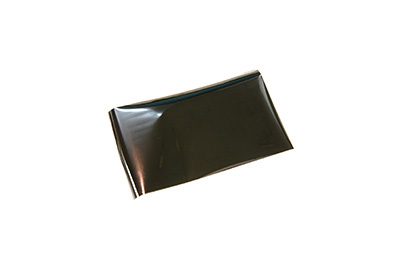
Black
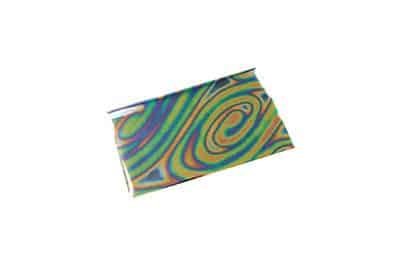
Rainbow
Foil Sticker Prices
Foil stickers are more expensive than regular stickers because processing options, foil materials, and copper plates are additional costs.
Below is a comparison of prices for 3000 stickers with regular printing and foil stamping (based on our prices).
Dimensions: 50×50mm
Material: Art paper
Quantity: 3000 pieces
■ Regular Stickers (1-color printing)
3000 pieces: Approximately $146.67 (including plate and die costs of $33.33)
■ Foil Stickers (Gold or Silver Foil)
3000 pieces: Approximately $286.67 (including plate and die costs of $86.67)
■ Foil Stickers (Colored Foil)
3000 pieces: Approximately $336.67 (including plate and die costs of $86.67)
Currently, material costs are rising, and prices may vary.
Foil stickers are about twice as expensive as regular sticker printing. The above prices are for the first print. For reprints (from the second time onwards), the price will be the same minus the costs of plates and dies listed in parentheses.
Foil Stamping Process for Stickers Summary
Good quality foil stickers reproduce the silhouette accurately as per the data. Defective ones have jagged silhouettes and pinholes. Foil Stamping Process for Stickers can be tricky with fine details, so check with your printer based on the design.
It might be a good idea to request foil color samples before making a selection. Foil sticker prices are about twice that of regular sticker printing.
Foil Stamping Process for Stickers is a printing technique that can add a touch of luxury and value to products. We believe that the role of product labels is to enhance and promote the product. Why not try incorporating foil stamping into your product labels?
Related Pages
Foil Sticker Printing Product Page
Related Articles
Washi Stickers: Wonderful Materials That Appeal to Users

Start Your Project Now!
Contact Us or Get a Quote!

