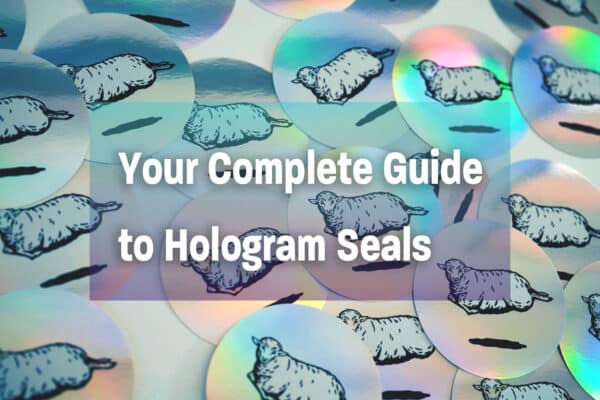
Creating Hologram Stickers: Patterns, Materials, and Prep
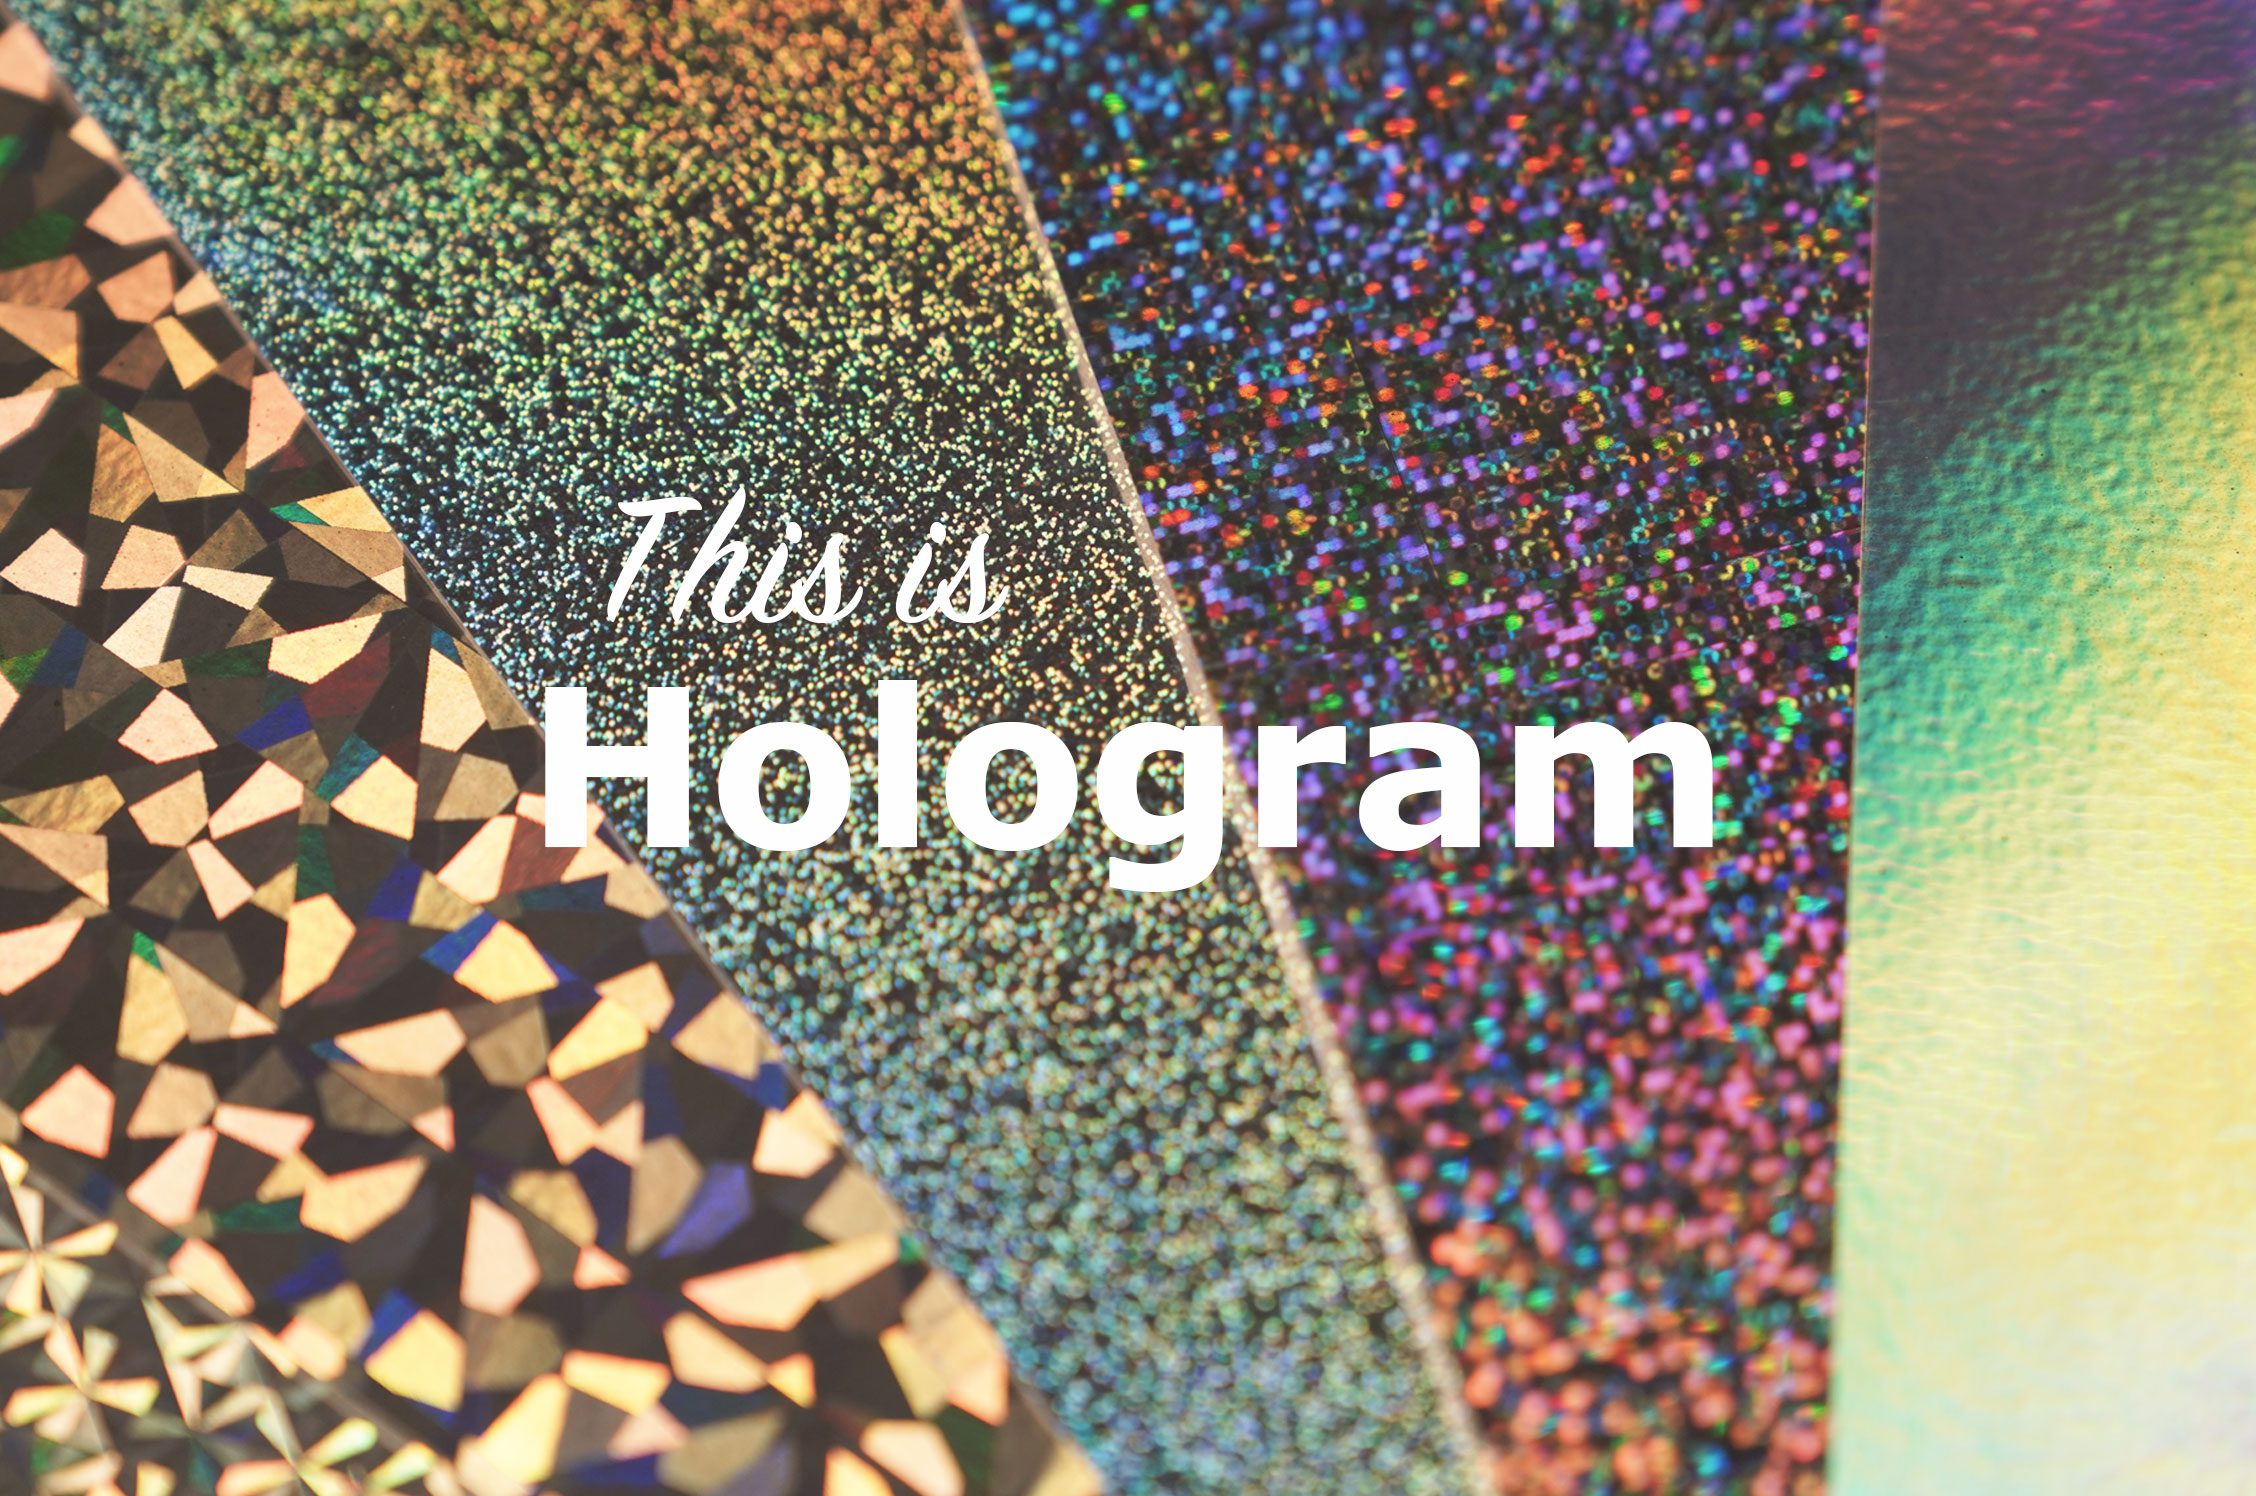
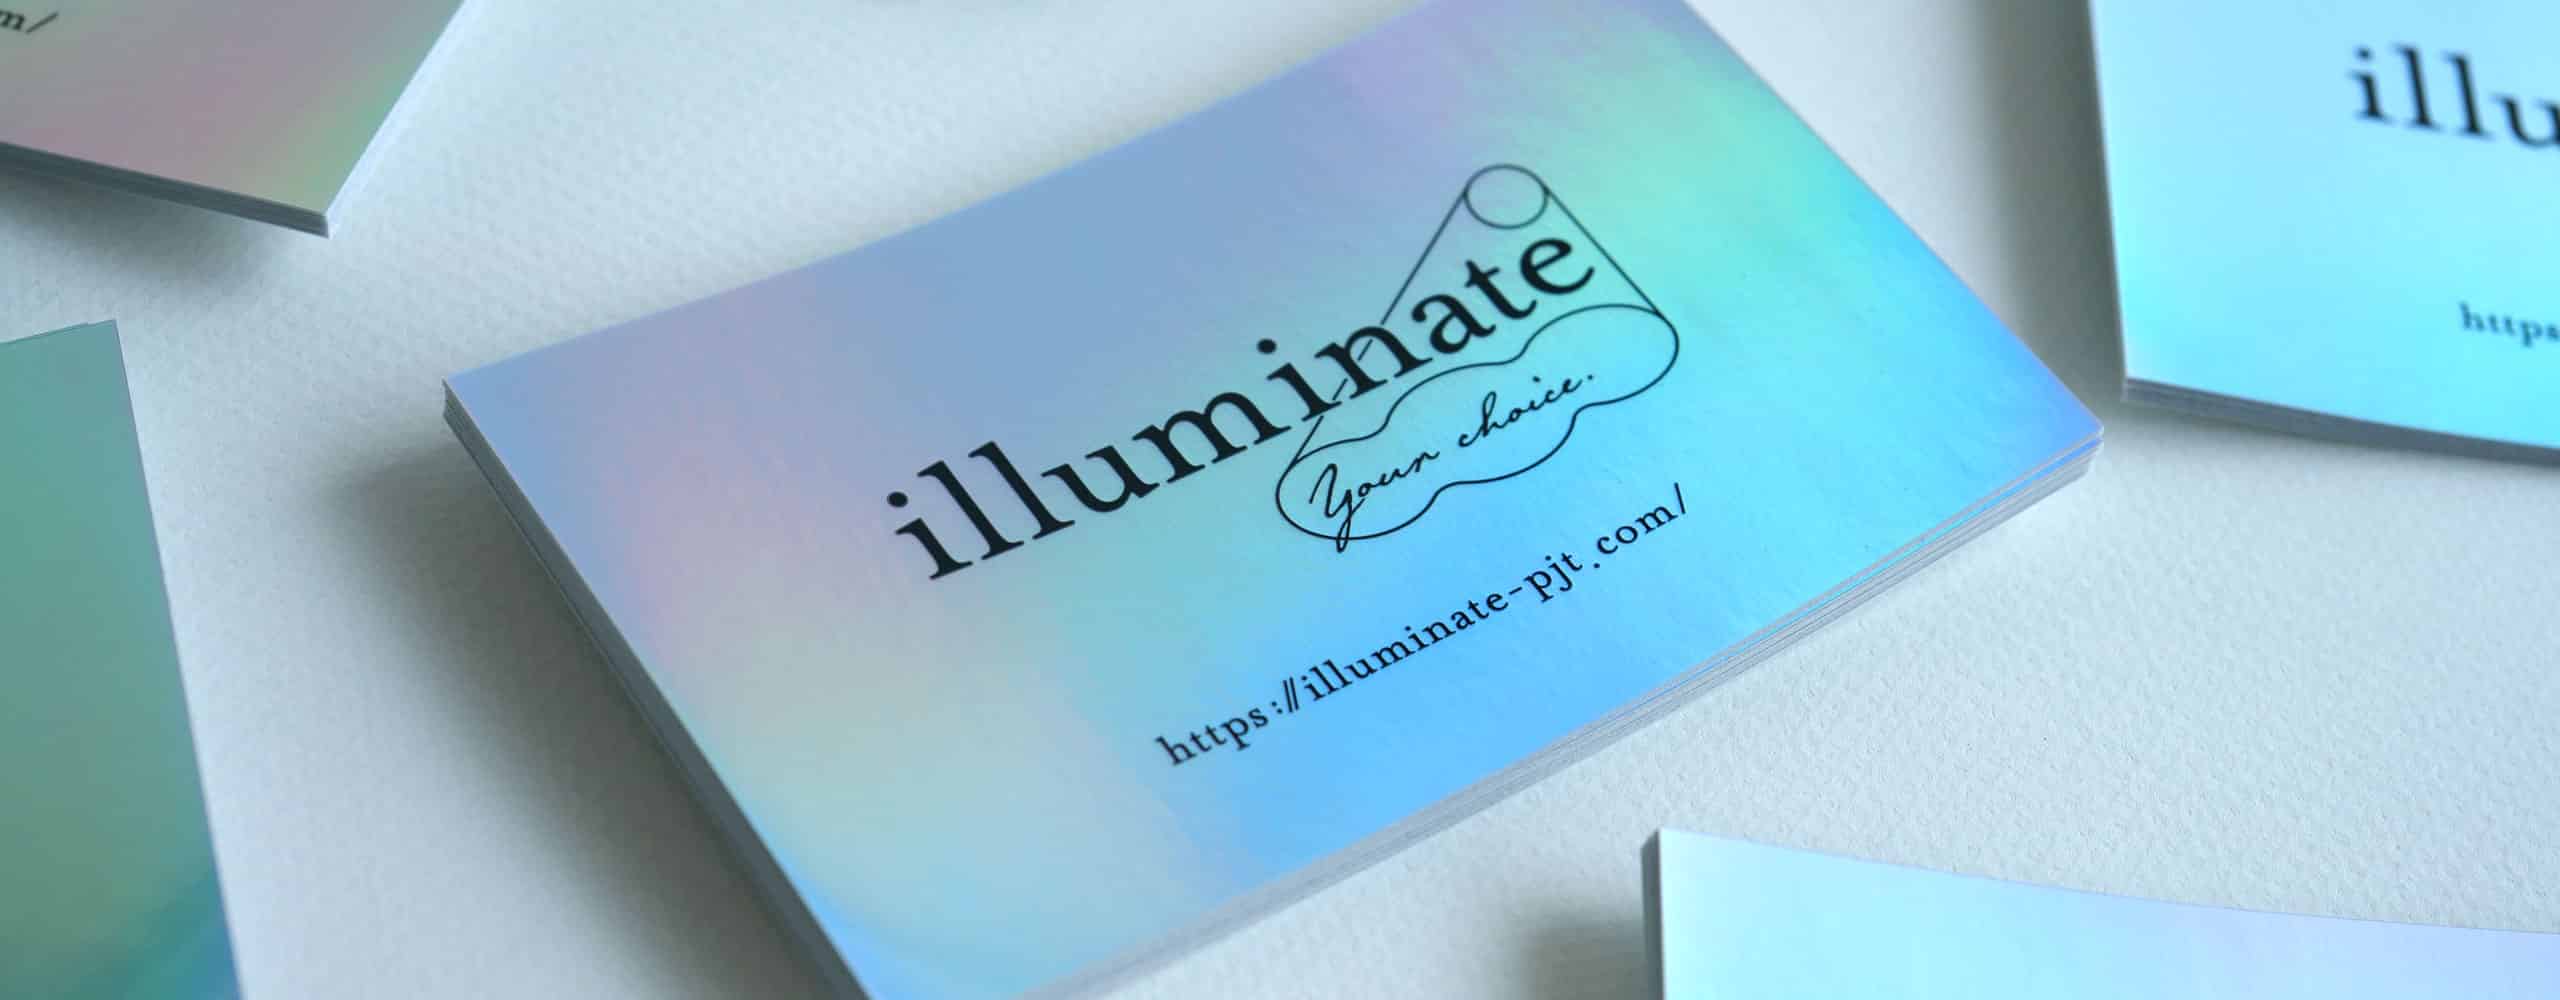
In this section, we will explain the production of hologram sticker. Hologram stickers are used in a wide variety of applications due to their beautiful appearance. The choice of pattern depends on the purpose and target, but all of them provide unique visual effects.
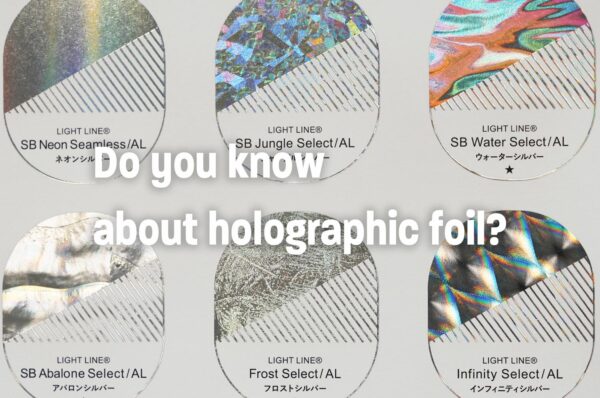
By the way, how are hologram patterns expressed? It is designed with subtle embossing that is almost invisible to the naked eye, adjusting the reflection angle of light.
For more information on holograms, please see the following page.
Hologram Products Page
Please feel free to contact us.
TOC
Hologram Seal Examples
First, let's introduce some examples of hologram sticker production.
Isn't the shining metallic look beautiful? You can understand that holograms are different from ordinary sticker printing materials.
However, the finish of the above stickers has a little trick, which will be explained in the latter half.
Hologram Sticker Patterns
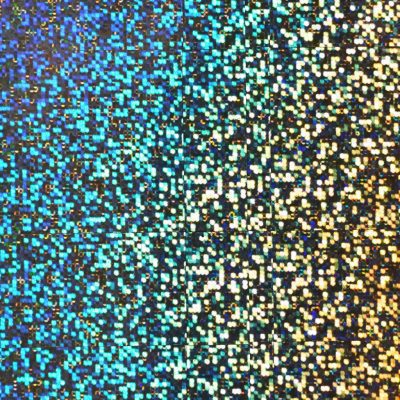
No,1
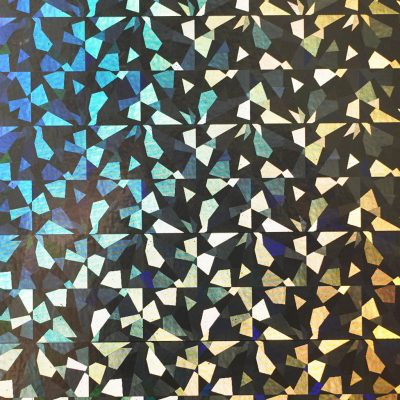
No,2

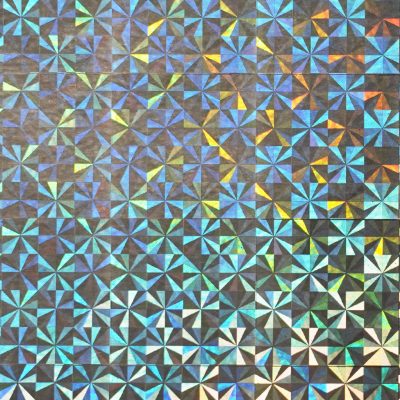
No,3
No,4
No,5
The hologram material before printing looks flashy. To be honest, it's not elegant. So we want to give it a stylish impression through printing.
Hologram sticker Production Techniques
As you know, "charm" and "flashiness" are different. Although hologram material is expensive, if the glare is too strong, it looks cheap... We were worried. Is there a way to make the hologram look attractive while maintaining its prominent features?
The method we finally arrived at was to suppress the dazzling rainbow shine through printing. We realized that hologram material, being a silver glossy type, works well with halftone printing.
Let's explain this clearly using the stickers introduced at the beginning as examples.
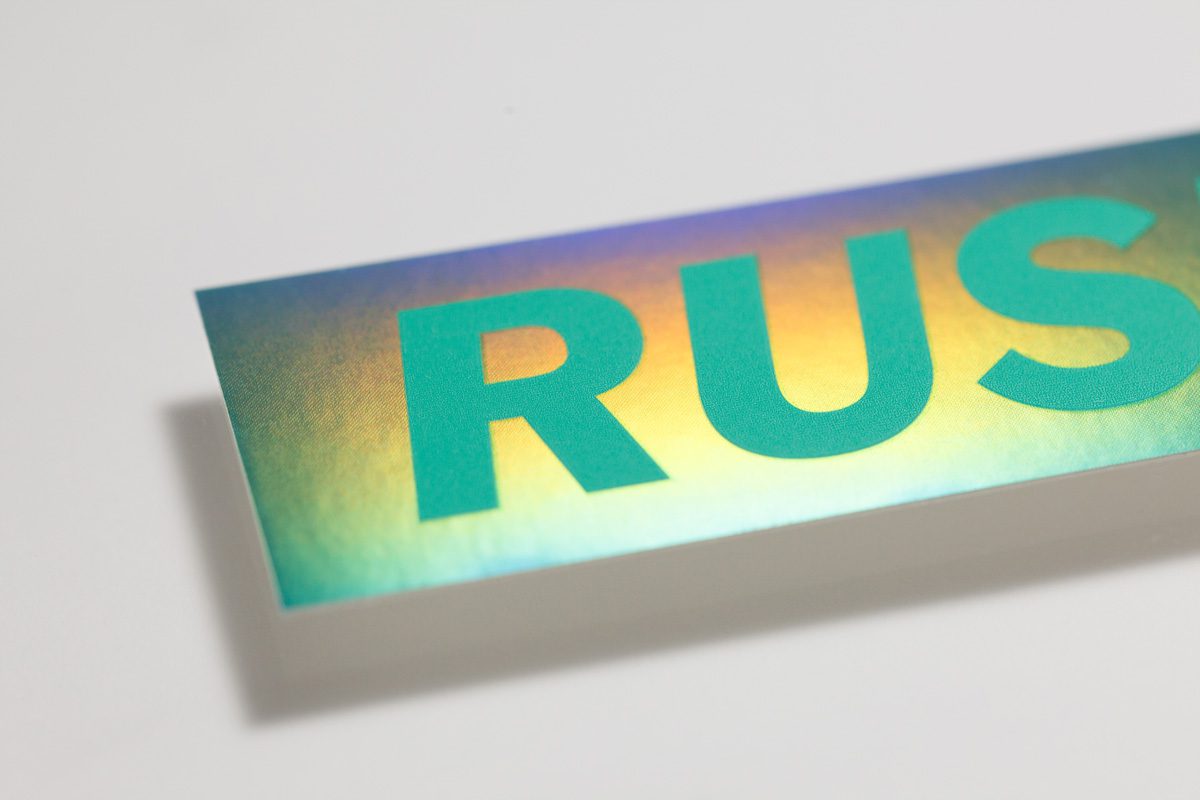
In the Case of Spot Colors
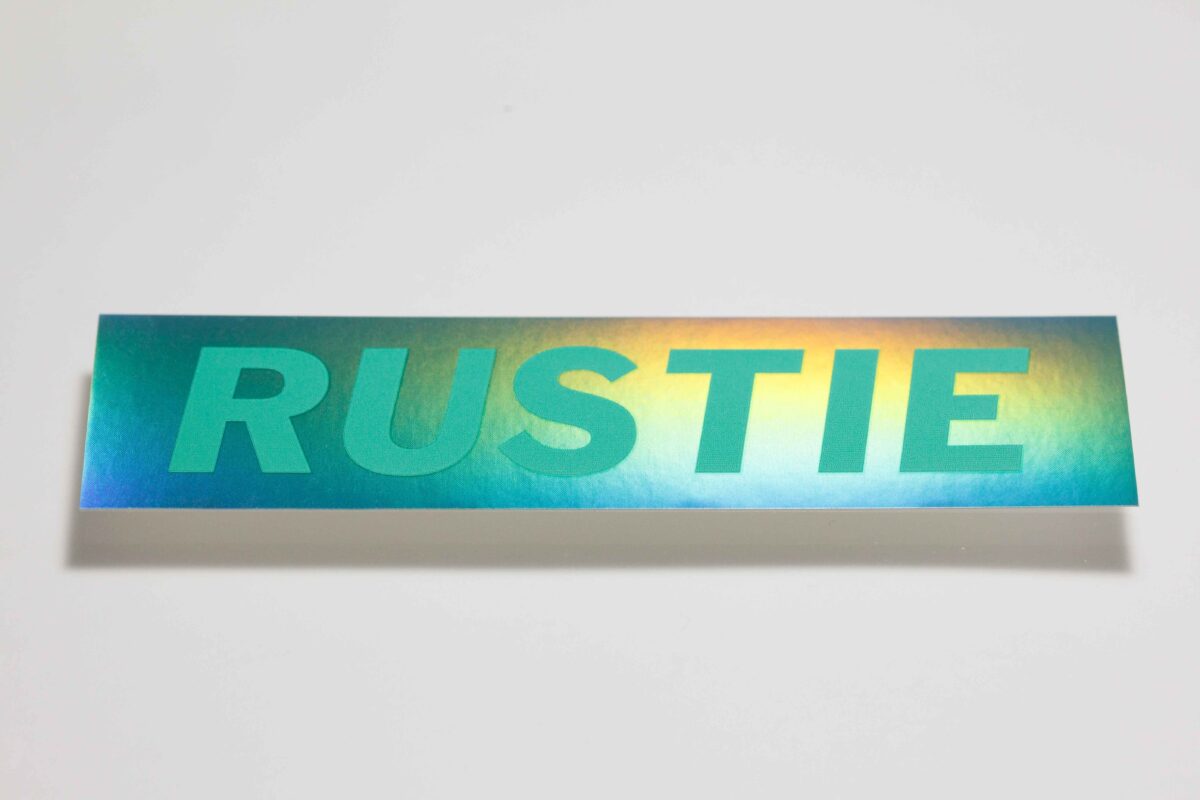
This is a hologram sticker with a calm impression created through printing. As mentioned earlier, three colors are printed on Hologram No,1. A feature is the printing of a "green mesh" on the background of RUSTIE.
This mesh printing suppresses the flashy characteristics of the hologram while reproducing the green hologram. Normally, it would have a dazzling and strong appearance.
The data creation method is simple. Let's break down and explain the actual example. See below.
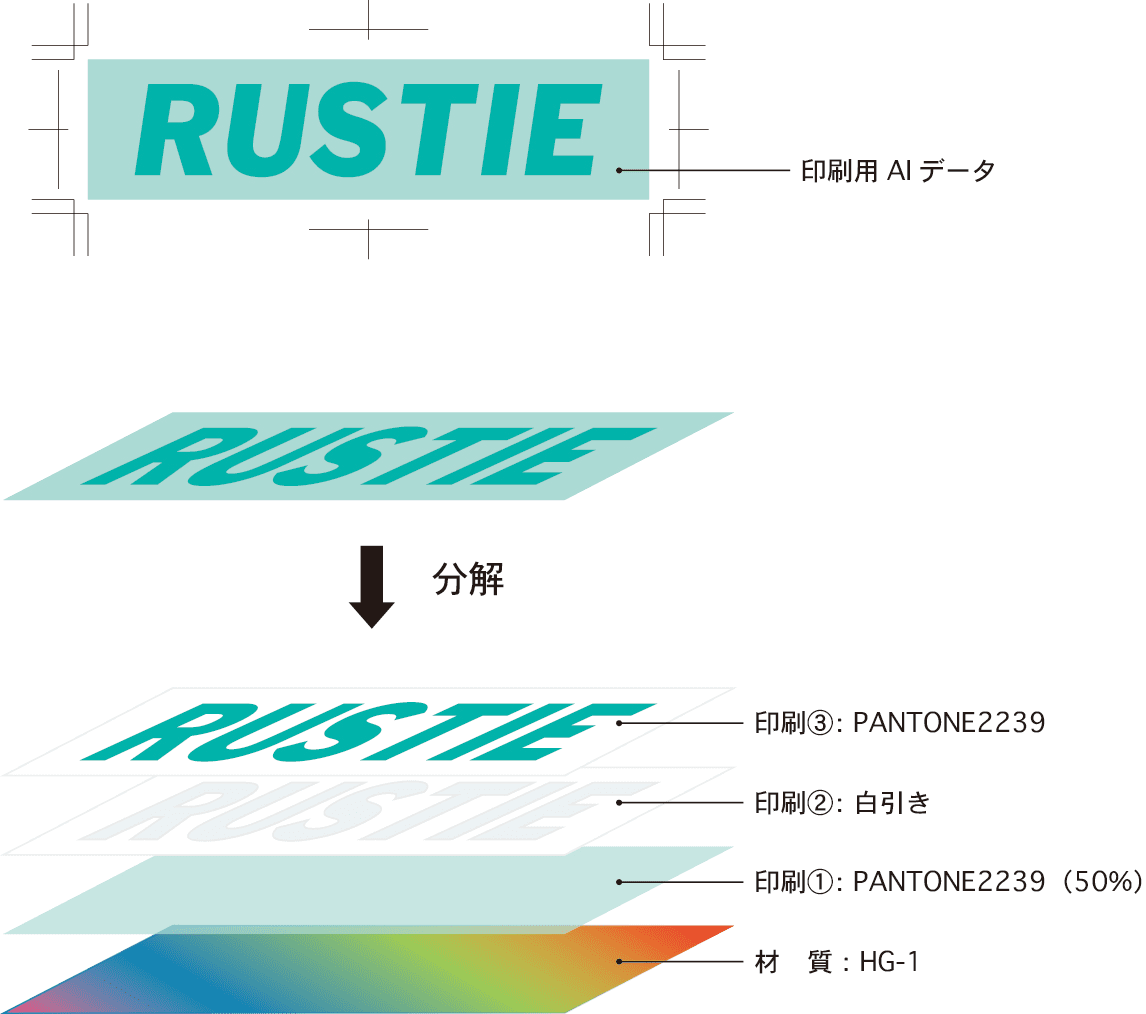
Hologram No,1 is a simple hologram without texture. A 50% green mesh is printed on it (Print ①). This gives it a matte green texture, suppressing the flashy impression. Next, white is printed (Print ②), and finally, a PANTONE spot color is printed (Print ③) to complete the process.
The term "mesh" in printing refers to printing a mesh pattern. 100% is solid printing, while anything below 99% is mesh printing.
During Print ①, we tested various mesh percentages and concluded that a 50% mesh was best suited for the alphabet design.
Mesh printing tends to suppress the characteristic gloss of the hologram, for better or worse. Since preferences for color density vary, it may be a good idea to test various percentages in prototypes.
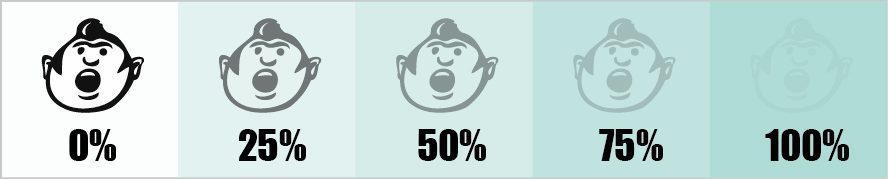
The above image shows the mesh density.
As the values increase, the man's face in the background becomes increasingly obscured. The 0% on the left indicates a state without printing, while the 100% on the right is solid printing rather than mesh printing. Even with solid 100% printing, the ink is not entirely opaque, so the background may still slightly show through.
Finding your preferred look between 20% and 60% might be a good idea.
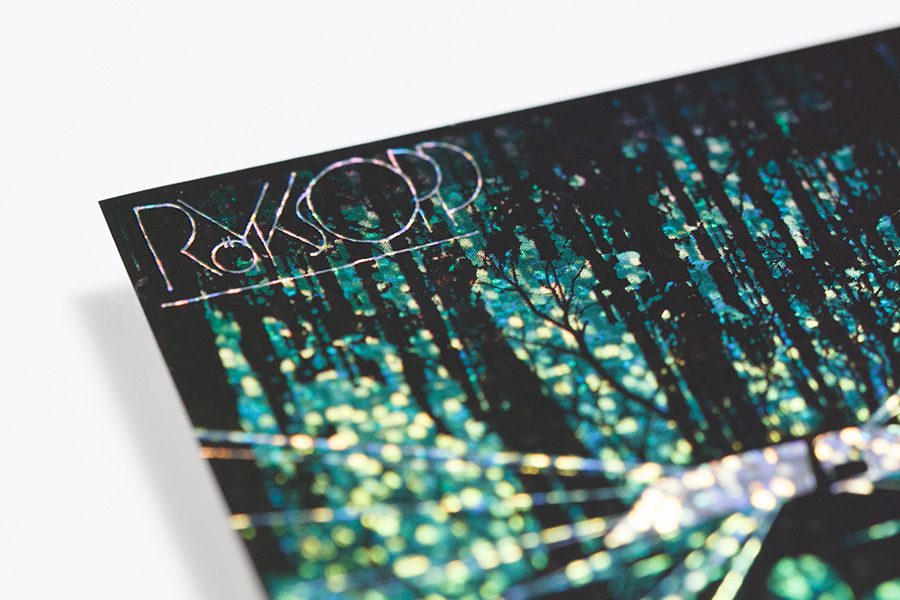
In the Case of Four Colors
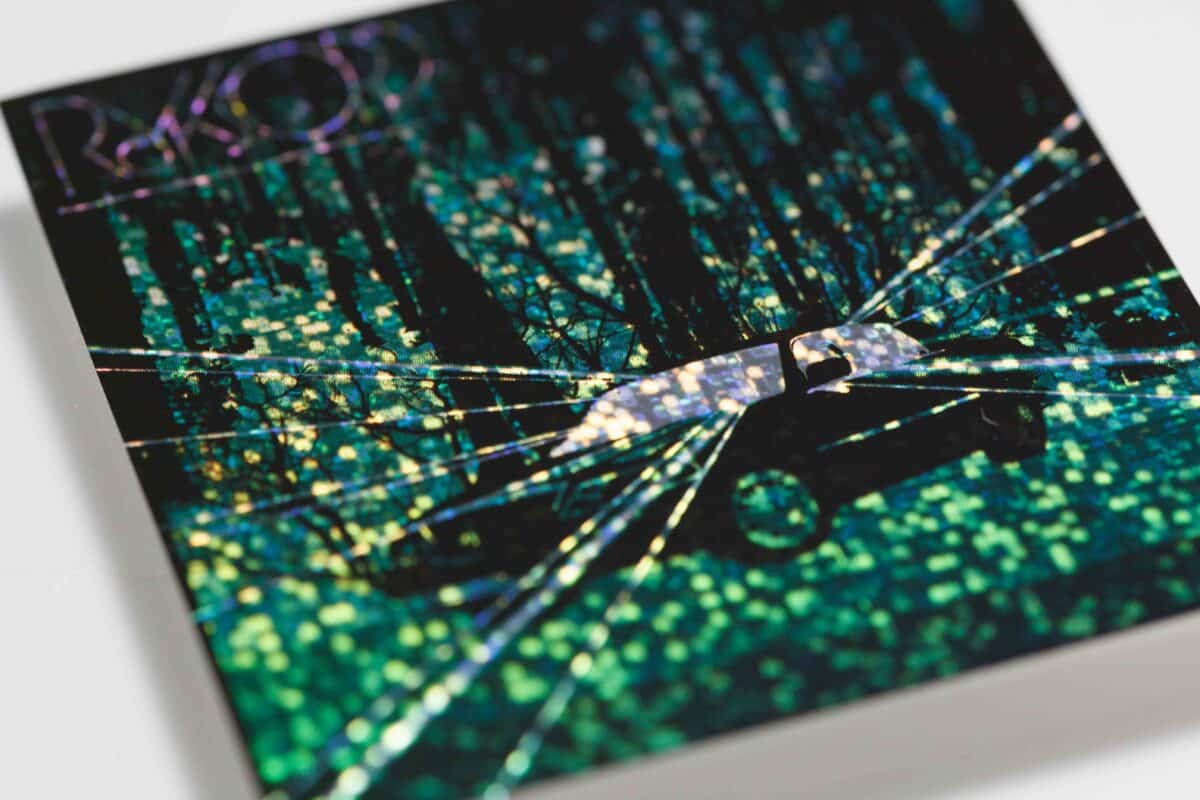
The above sticker uses Hologram No,2. The design depicts a car placed in a forest, with strong light beams coming from inside the car, altering the overall atmosphere of the forest.
This printing uses four colors. A feature is that the "light inside the car" and "light beams" are not printed, leaving Hologram No,2 exposed. One reason it does not look flashy is that the hologram is subdued by the four-color printing.
Creating the data is also simple. Let's explain it with an actual example. See below.
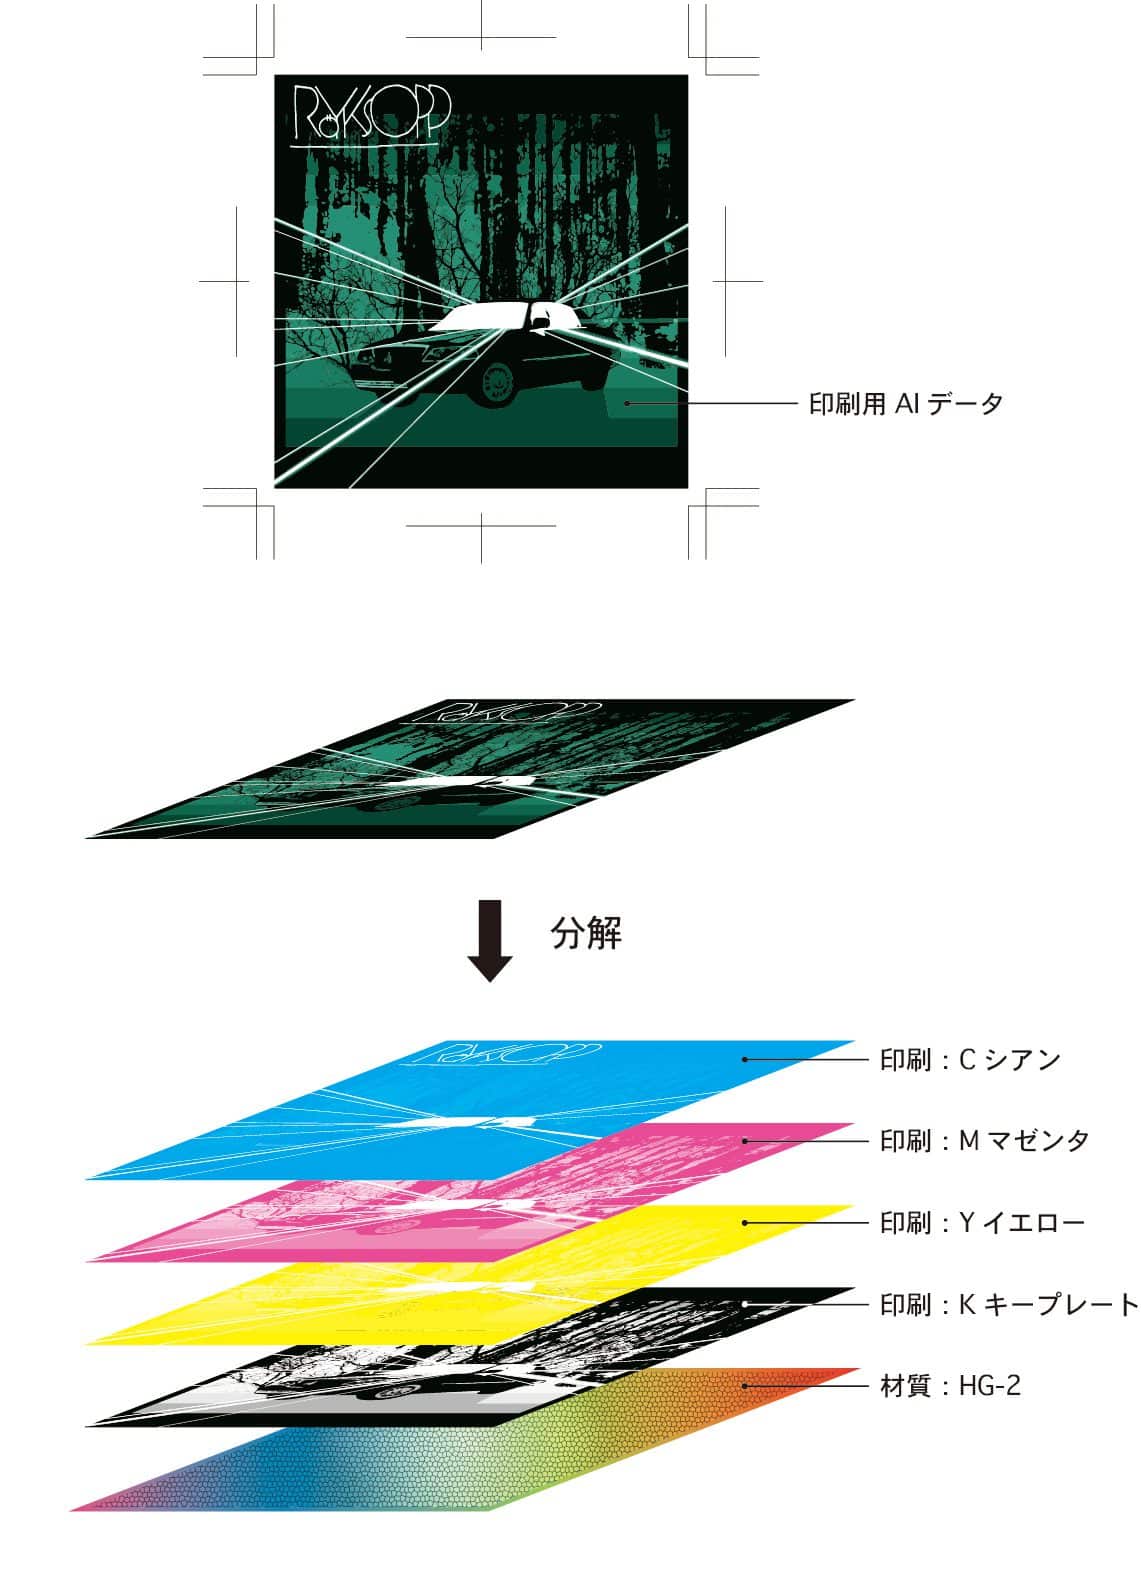
Hologram No,2 has a flashy pattern with scattered dots. Four-color printing is applied to this.
Four-color printing refers to printing using all four types of CMYK meshes: C for cyan blue, M for magenta red, Y for yellow, and K for key plate black. (Most printed materials around you are reproduced using this CMYK process)
At first glance, the above sticker looks like regular color printing, but the objects are black, and the background is unified in green. Of course, it is possible to create it with just two colors, black and green, but overlapping CMYK increases the coverage rate of the base Hologram No,2, expressing the difference between light and dark. If you look closely, you can see that the car's body and the trees in the background are completely covered by the hologram.
This concludes the techniques for making hologram seals. Of course, if you are not familiar with data creation, we can handle it for you. Please feel free to contact us if you have any questions.
Hologram Stickers | Product Page
Special material that reflects like a rainbow.

Start Your Project Now!
Contact Us or Get a Quote!