How to Apply Labels: Techniques and Efficiency Tips
Labels can enhance the appeal of your product. However, inconsistent application can damage the product's image. Understanding how to apply labels neatly and avoiding mistakes is very useful.
This article provides detailed instructions from professional label printing companies on how to apply label labels. Learn the steps for neat application and tips to avoid mistakes, aiming to improve the efficiency of label application.
We are a label printing company that creates various types of labels such as label labels and novelty labels. If you want labels tailored to your usage scenarios, please feel free to contact us.
Please feel free to contact us.
TOC
How to Apply Labels Neatly
First, let's introduce the steps to apply label labels neatly in four steps. There are also some tips to ensure a clean finish, so please refer to them.
- Place the product in a stable position
- Remove the label from the backing paper.
- Align the edge and apply while removing air
- Press down from the top to finish
Step 1: Place the Product in a Stable Position
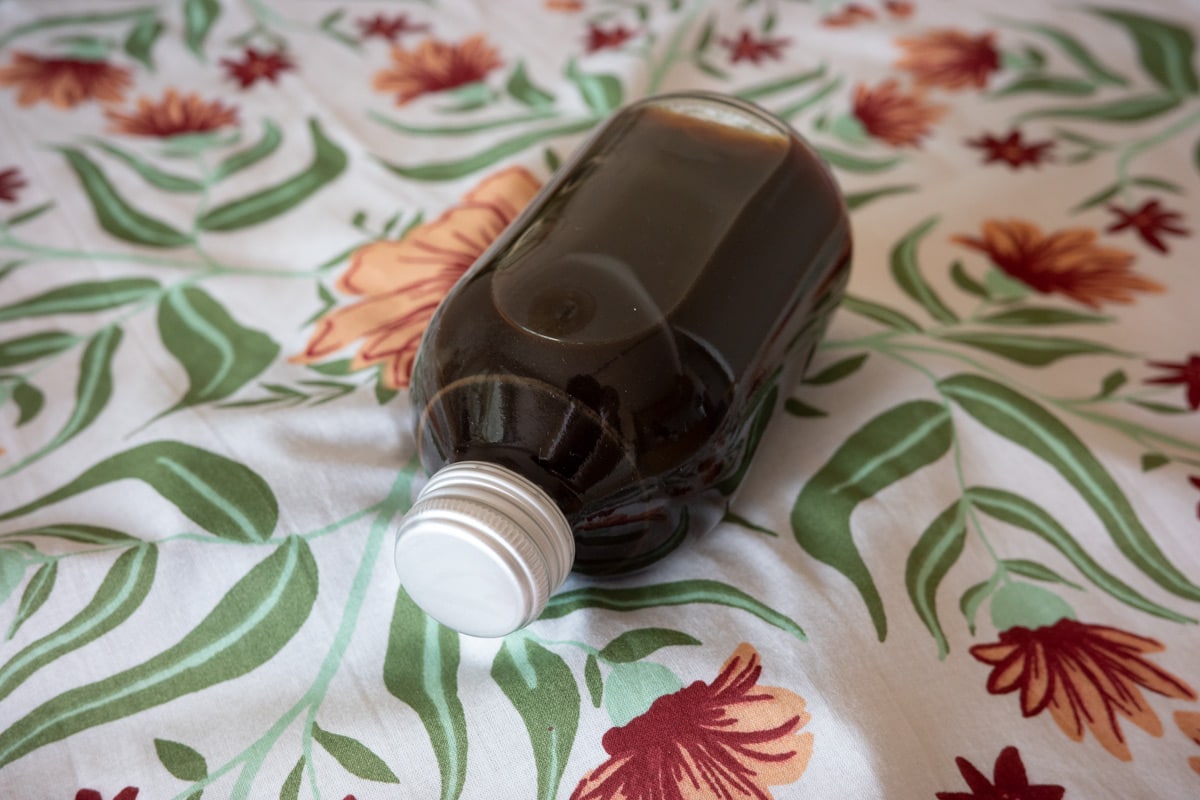
Prepare the product to which you will apply the label. Place the product with the application area facing up, ensuring it is fixed and does not move. For round items like bottles, place them on a towel or platform to prevent them from rolling.
By securing the product in advance, you can use both hands for application, making the process more efficient. Depending on the packaging material, reapplication may not be possible, so work in a stable environment to avoid mistakes.
Step 2: Remove the label from the backing paper.
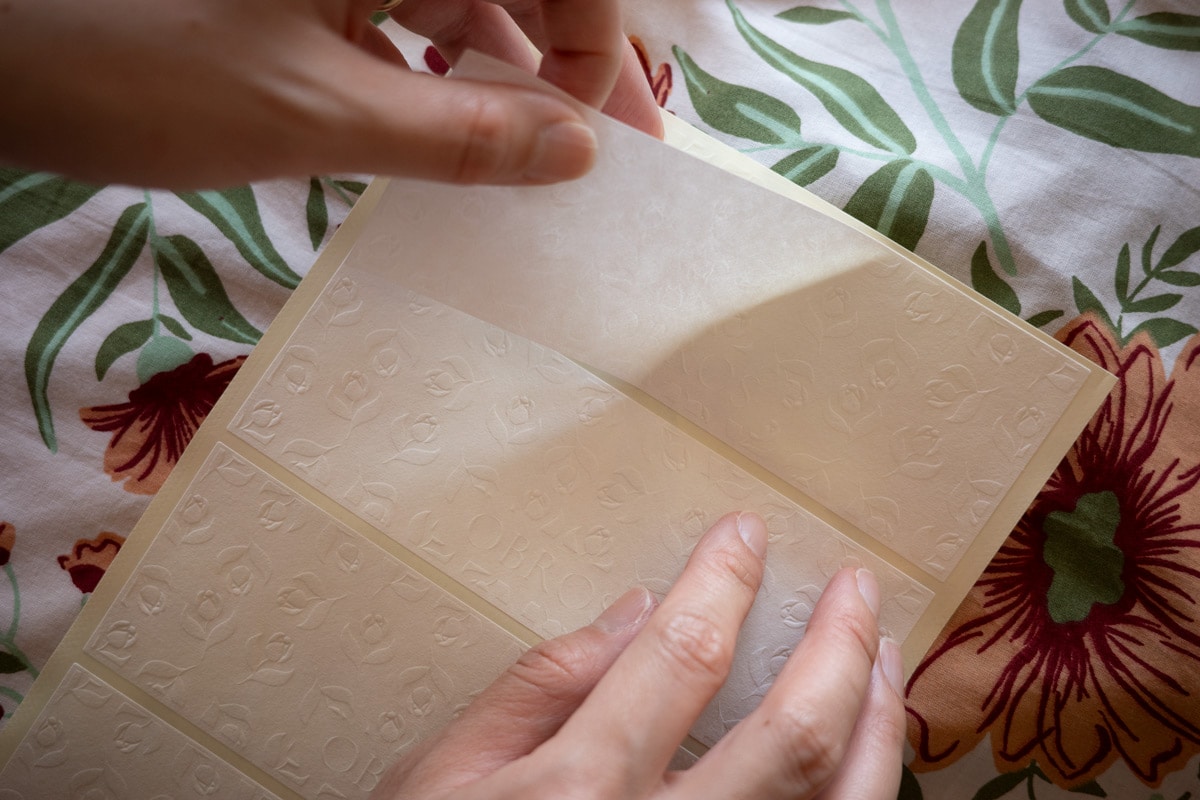
Next, remove the label from the backing paper. Peel it off slowly from the corners or edges, being careful not to touch the adhesive surface as much as possible.
Before removing the label from the backing paper, it's helpful to have an idea of where exactly you want to place the label on the product. This will help you apply it quickly and neatly.
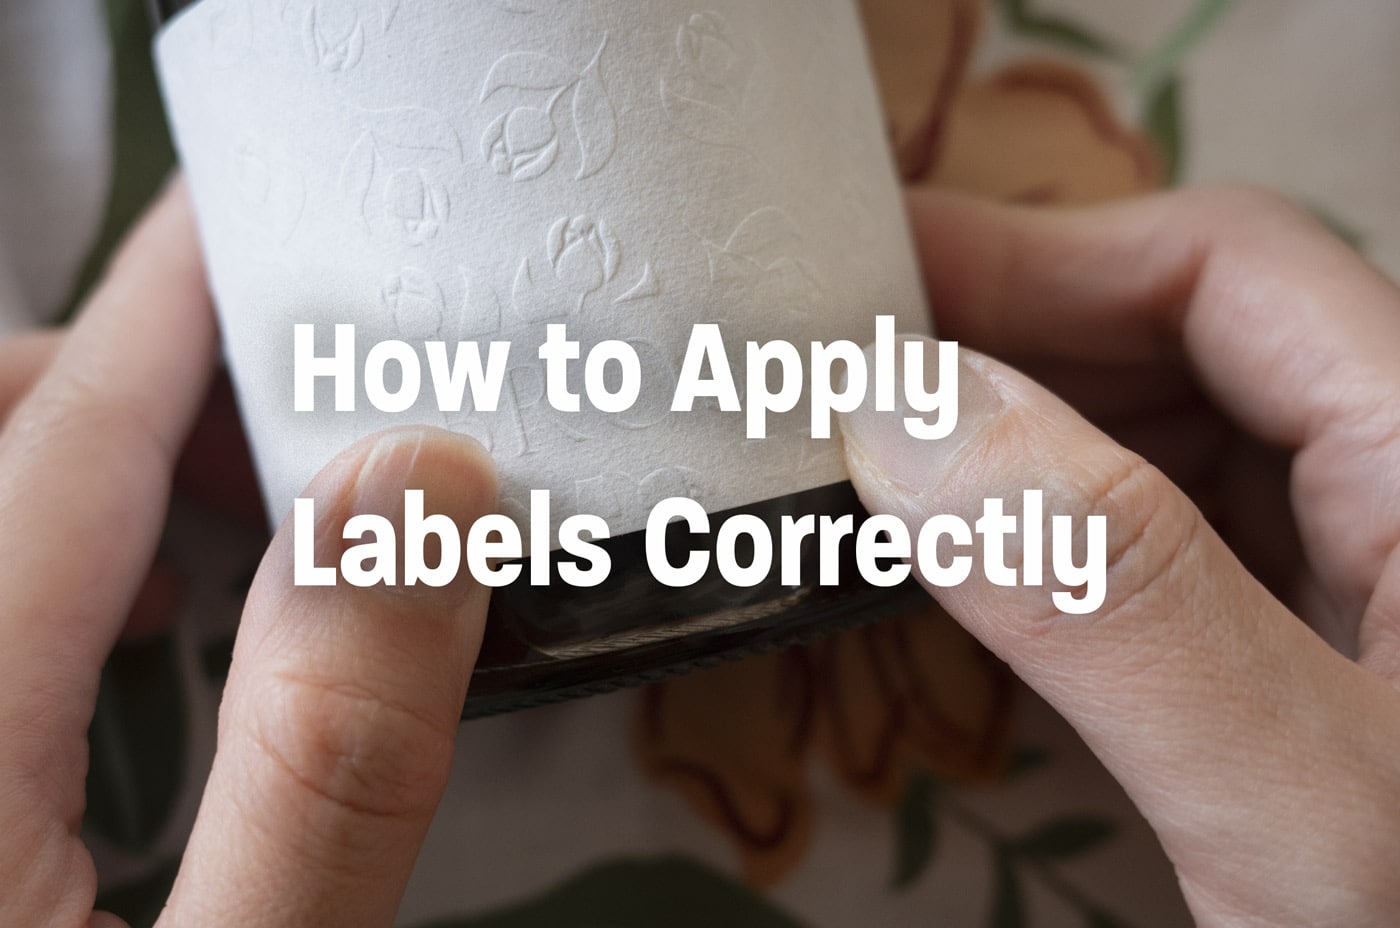
Step 3: Align the Edge and Apply While Removing Air
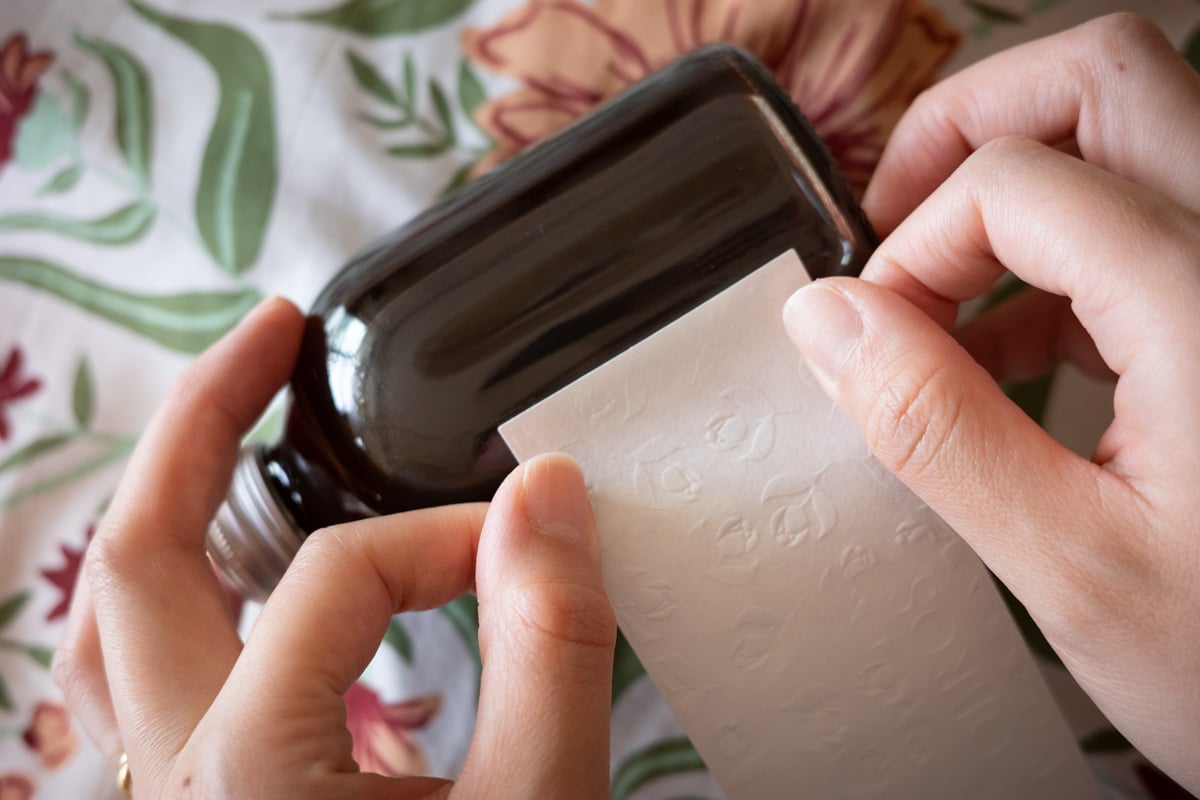
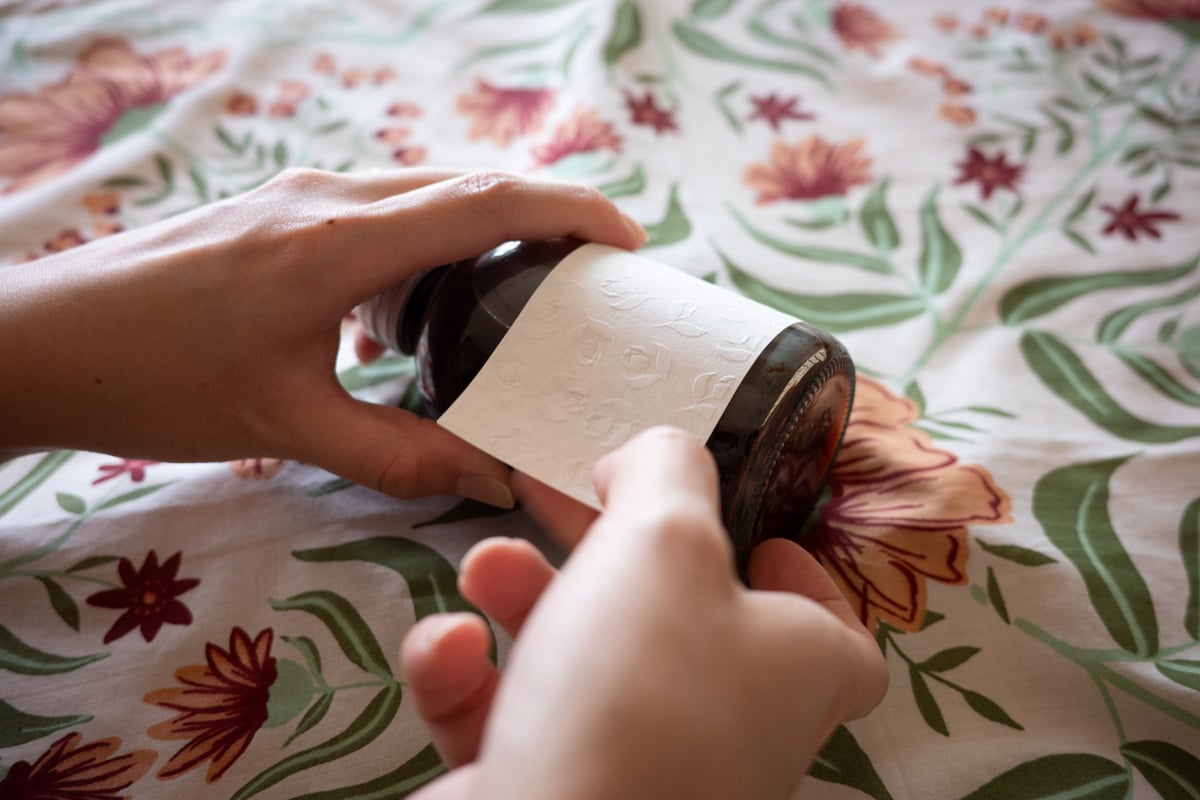
Align one edge of the label with the application area and apply it while removing air from the edges. Avoid placing the entire surface at once to prevent mistakes.
Glass or plastic containers often have a vertical seam, which can be used as a guide to apply the label straight.
If you apply the entire adhesive surface at once, there will be no room for correction if it is crooked. The shape of the label is fixed, so even aligning just one edge accurately will allow you to apply it straight and neatly.
If there is no guide line as mentioned above, it may be easier to apply from the center. Please choose according to your preference.
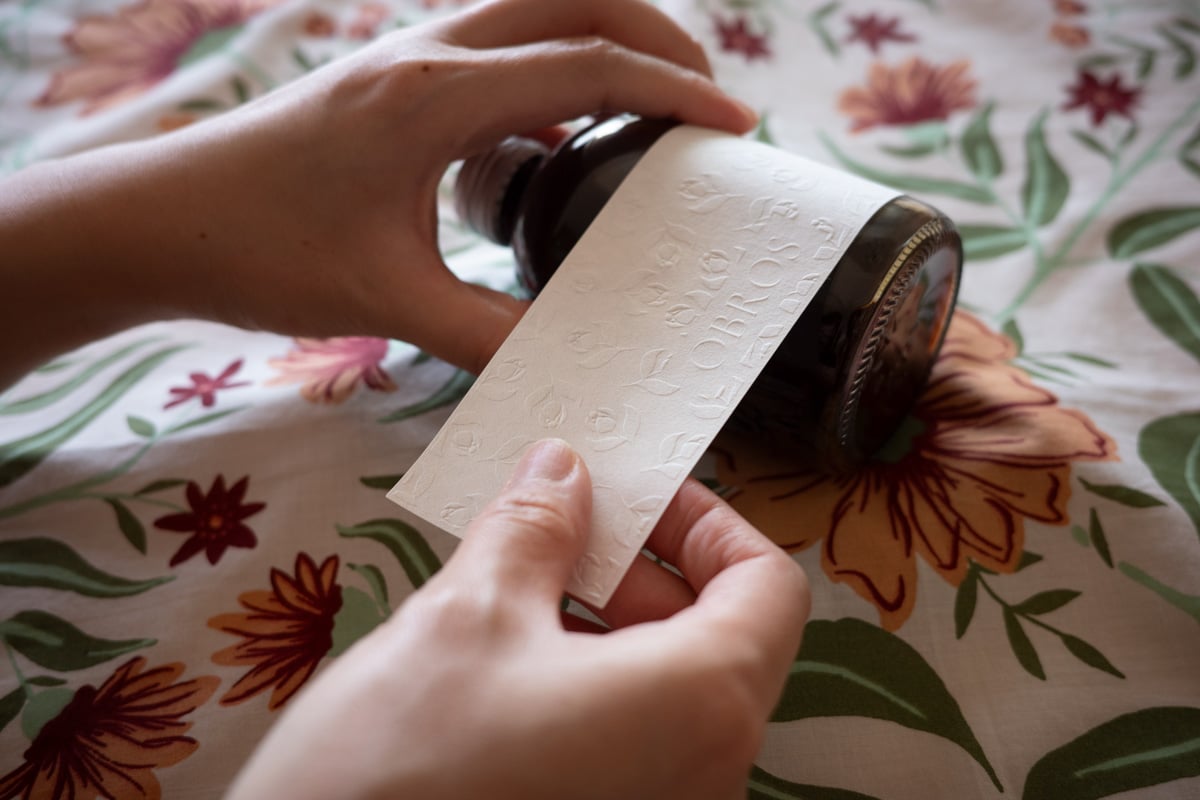
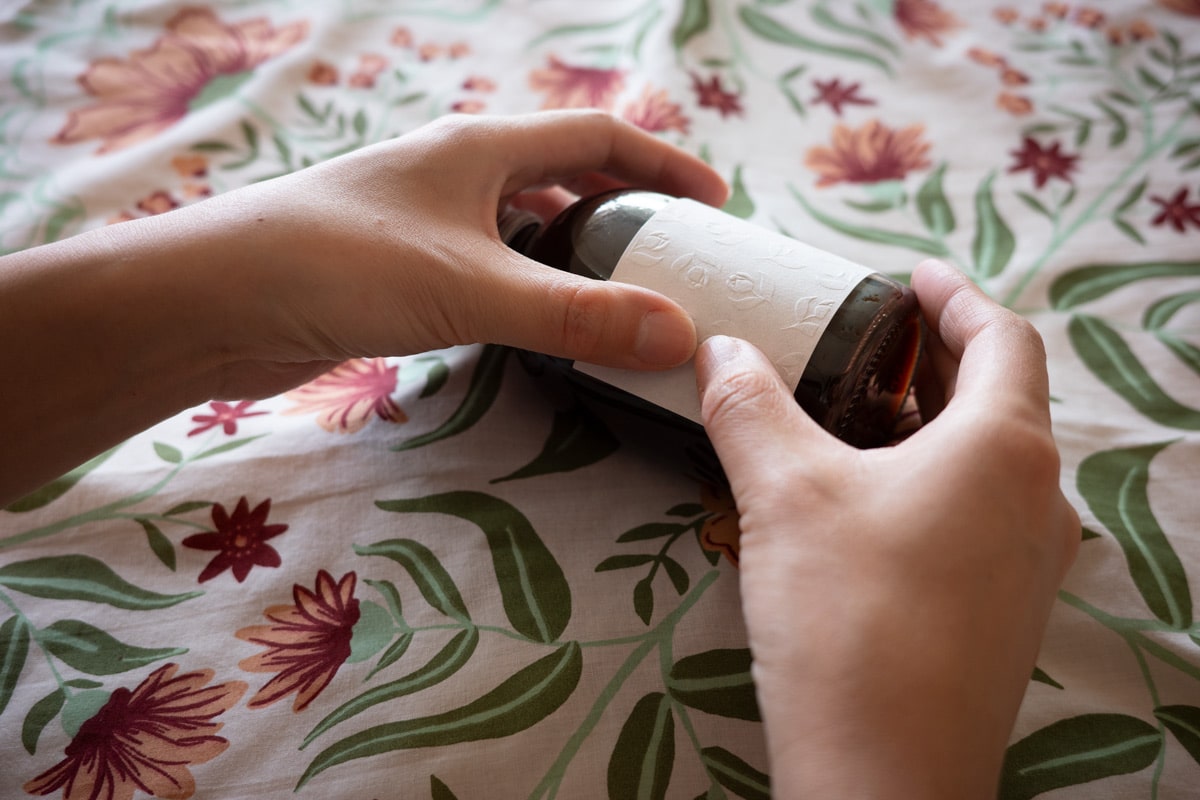
Step 4: Press Down from the Top to Finish
Finally, press down on the entire surface with your fingers or other tools to adhere the label completely to the product. Rubbing firmly to remove any air bubbles or wrinkles is key to a neat finish. Ensuring complete adhesion eliminates weak points, making it less likely to peel off. (90% of peeling issues are due to insufficient pressure during application).
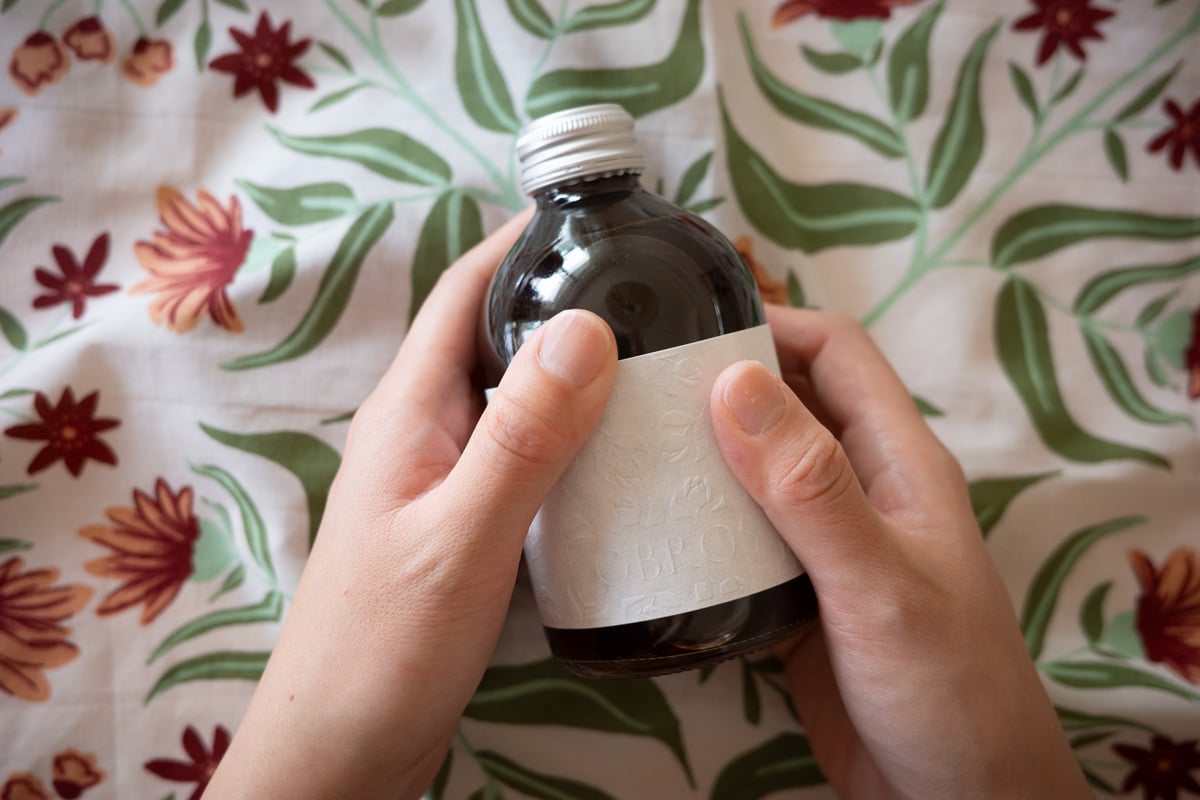
By the way, the adhesive on labels typically settles after about half a day.
Products are ready for sale only after the label is applied, so handle this final step with care, as it is the finishing touch.
Comments from Customers Who Have Applied Labels
"I have become quite accustomed to the application process! It became easier when I aligned the label with the vertical seam (glass joint) on the bottle. Also, rolling the bottle while applying the label seems to help prevent wrinkles."
We are a label printing company that focuses on the 'added value' of labels and creates meticulously crafted labels. If you are considering using labels for brand image building or product differentiation, please feel free to contact us through "Contact Us".
Three Tips for Applying Labels and Stickers
There are three important points to consider to avoid mistakes when applying labels. Let's take a closer look at each one.
- Avoid getting hair or dust on the adhesive surface
- Apply in the correct position to avoid misalignment
- Check for air bubbles or wrinkles
Tip 1: Avoid Getting Hair or Dust on the Adhesive Surface
When handling labels, ensure the environment is prepared so that the adhesive surface does not get contaminated with hair, dust, or other small debris. Use tape or adhesive cleaners to remove dust and lint from your clothes. Film materials tend to attract static electricity during the dry winter months, making them more prone to dust. Please be cautious.
Especially with transparent film materials, any debris on the adhesive surface, even small fibers from clothing, can cause bumps and be noticeable. Trying to remove debris with your fingers can worsen the situation by adding fingerprints or weakening the adhesive. To avoid wasting labels, it is essential to prepare the environment before starting the application process.
Tip 2: Apply in the Correct Position to Avoid Misalignment
One of the essential tips for a neat label application is to apply it without misalignment. The easiest method varies from person to person, so find the best way that works for you.
Typically, the conventional method is to start applying from the edge or the center, but which edge (top, bottom, left, or right) to align first depends on the individual. Experiment with different methods to find the routine that allows you to apply labels the most neatly.
Tip 3: Check for Air Bubbles and Wrinkles
After applying the label, check for air bubbles and wrinkles. Depending on the size and location of the bubbles, you can often remove them by pushing from the center outwards. Use your fingers or a squeegee (plastic scraper) to apply pressure and slowly smooth out the bubbles.
However, if the air bubbles or wrinkles are too large and difficult to fix, it may be better to give up and reapply. Labels add value to the product, so it is crucial to pay attention to details such as appearance after application.
Three Techniques to Streamline Label Application
The more labels you need to apply, the longer it takes, so it is essential to complete the work smoothly. Here, we introduce techniques to streamline the application process.
- Prepare the workspace
- Apply multiple stickers at once
- Introduce a labeler
Technique 1: Prepare the Workspace
When applying labels, set up your workspace to maintain focus. For label application, arrange the products and labels within arm's reach while seated, and secure enough workspace for smooth operation. Having to stand up and sit down frequently can reduce efficiency when applying many labels.
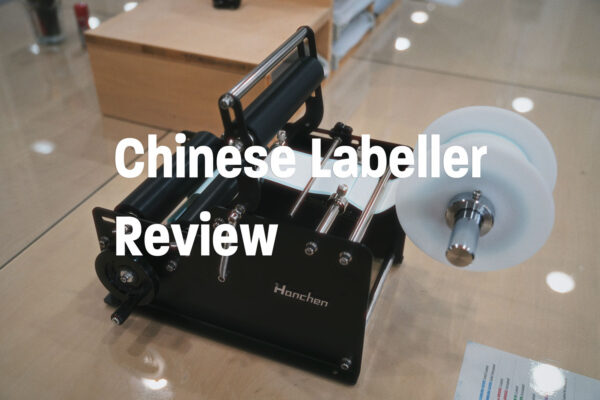
Technique 2: Use a Label Peeler (For Stores)
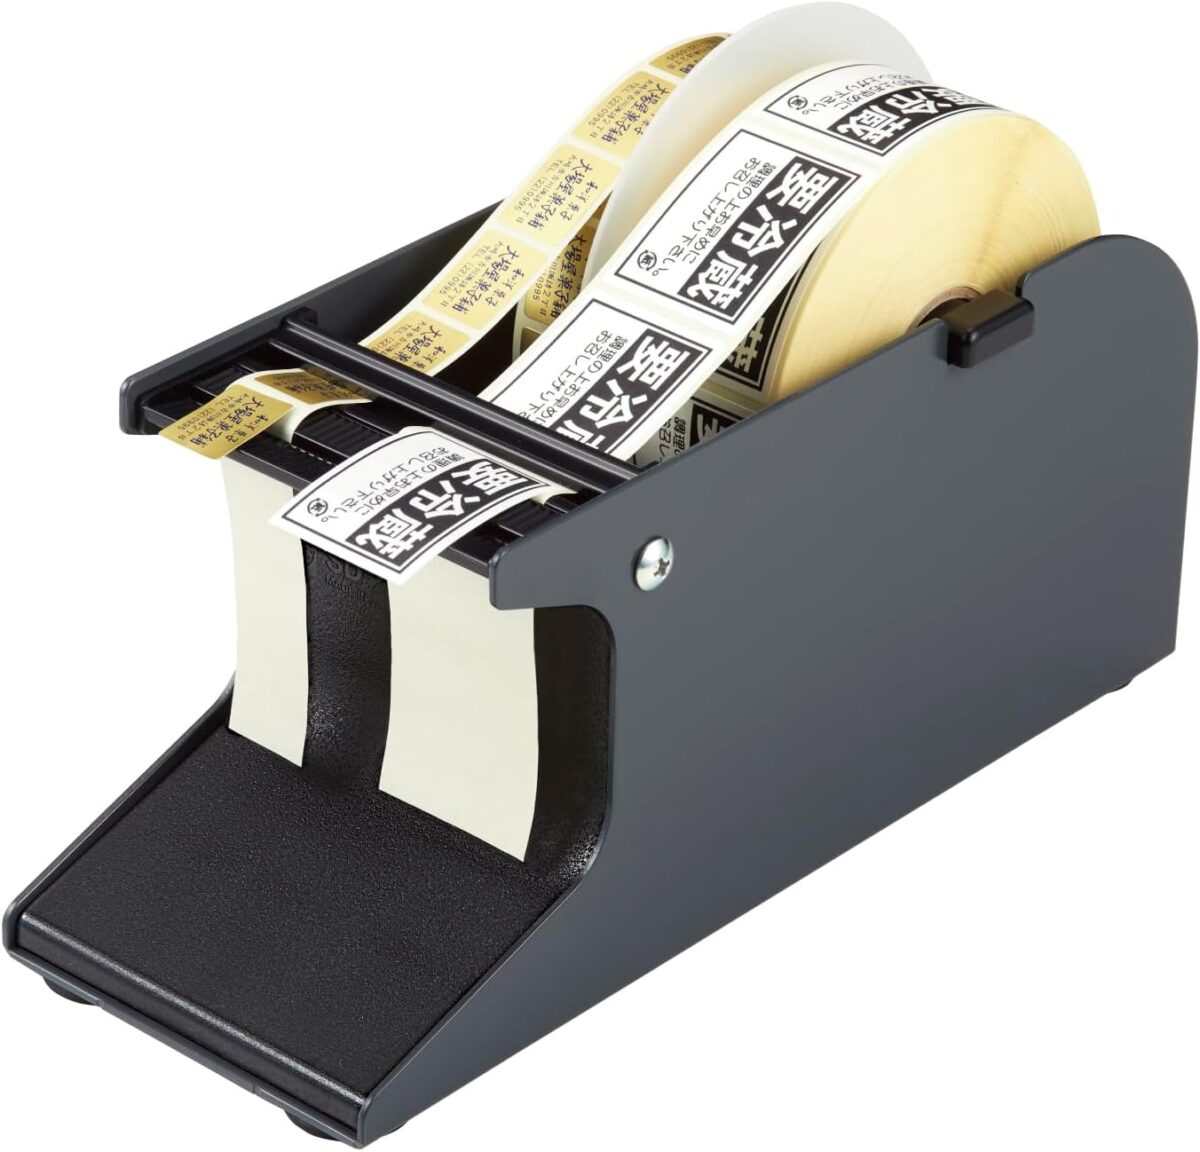
A label peeler is a desktop peeling device. When you pull the backing paper of a roll of labels, the label comes off the backing and is presented ready for application. It is convenient for quick use in-store or during packaging.
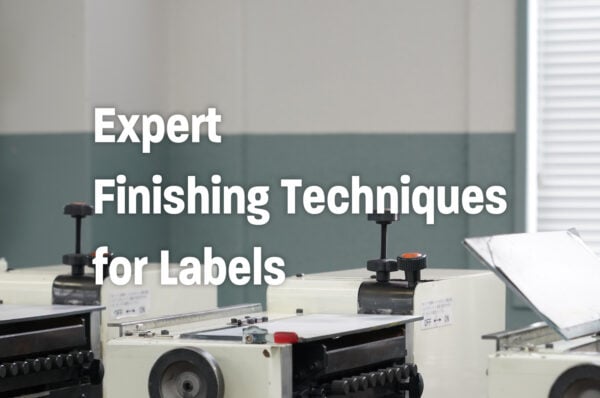
Technique 3: Introduce a Labeler (For Businesses)
If you need to apply a large number of labels, consider introducing a labeler (automatic applicator). A labeler is a machine that automatically applies labels when you place the product. This significantly speeds up the process and ensures that the labels are uniformly applied, making the products look neat when displayed.
However, note that the type of backing paper the machine can handle varies. Generally, it only supports roll-type labels, so sheet-type labels cannot be set. The width of the backing paper that can be accommodated is also fixed, so be sure to check this when introducing the machine. If you already have a labeler, confirm the specifications to provide accurate instructions when ordering from the label printing company.
Maximize the Added Value of Labels with Proper Application
The neat application methods and tips for labels vary depending on the type. However, proper preparation is essential for any label. Pay particular attention to small debris such as dust and hair since you are dealing with adhesive surfaces.
In the beginning, focus more on the quality of the application rather than speed. Use the labels' visual effects to add a vibrant touch to the application area.
We are a label printing company that prioritizes creating added value over mass production. We propose the best labels for your needs and purposes. If you are considering creating labels, please feel free to contact us.
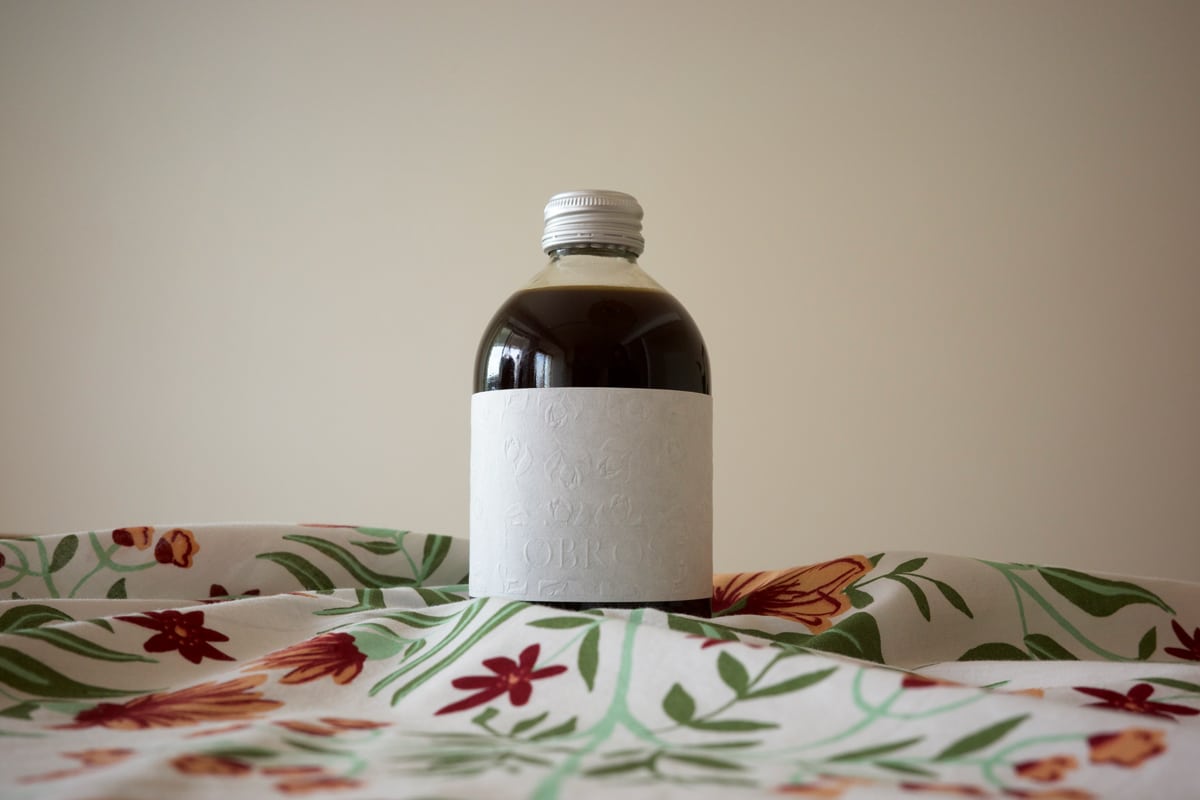
Photo and application cooperation by
OBROS COFFEE

Start Your Project Now!
Contact Us or Get a Quote!