How to Make Transparent Stickers: DIY Tips and Ordering
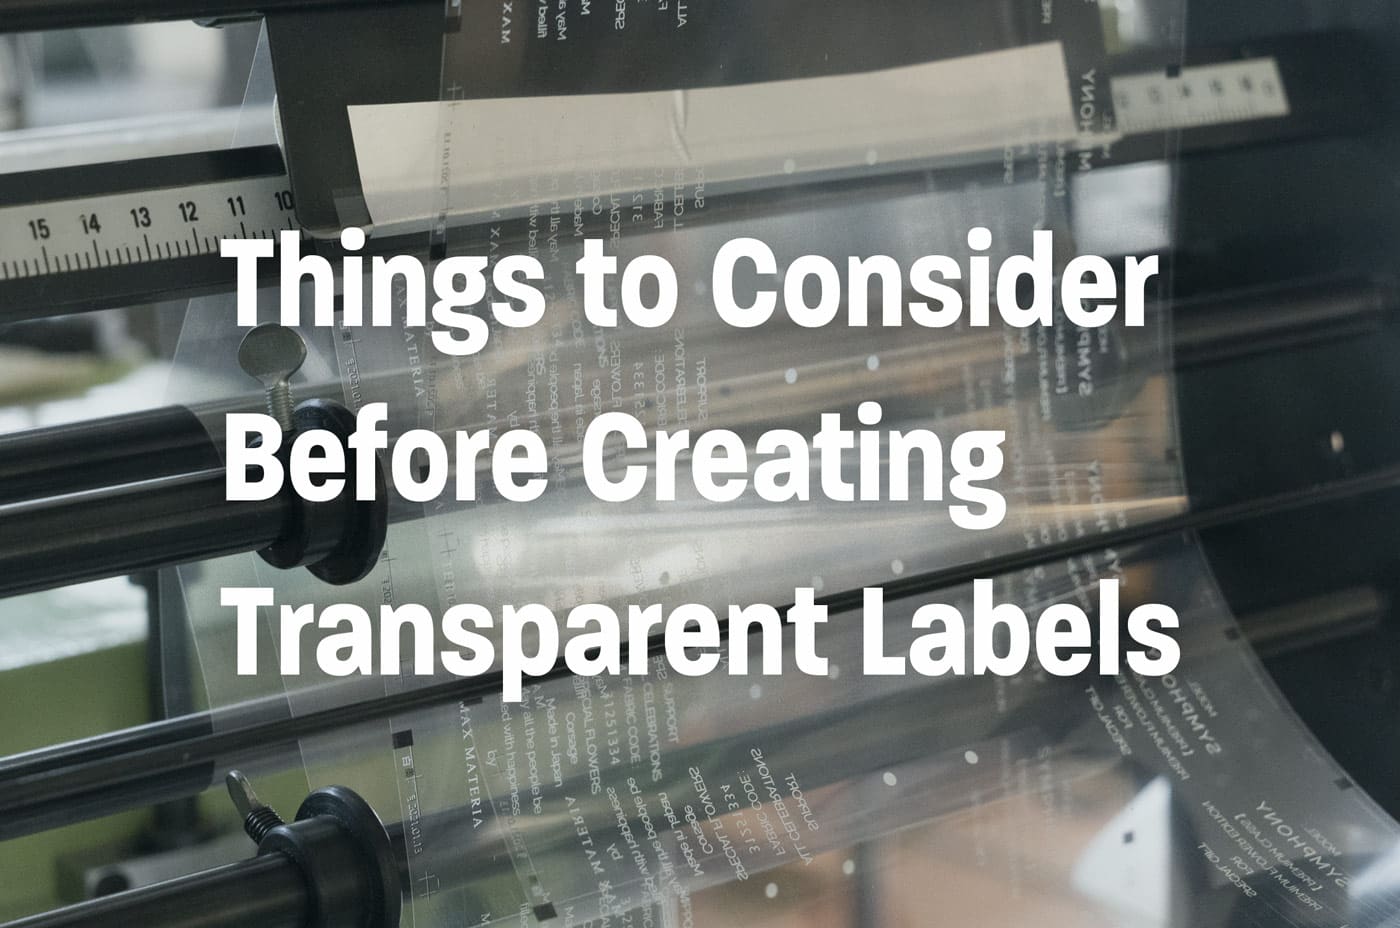
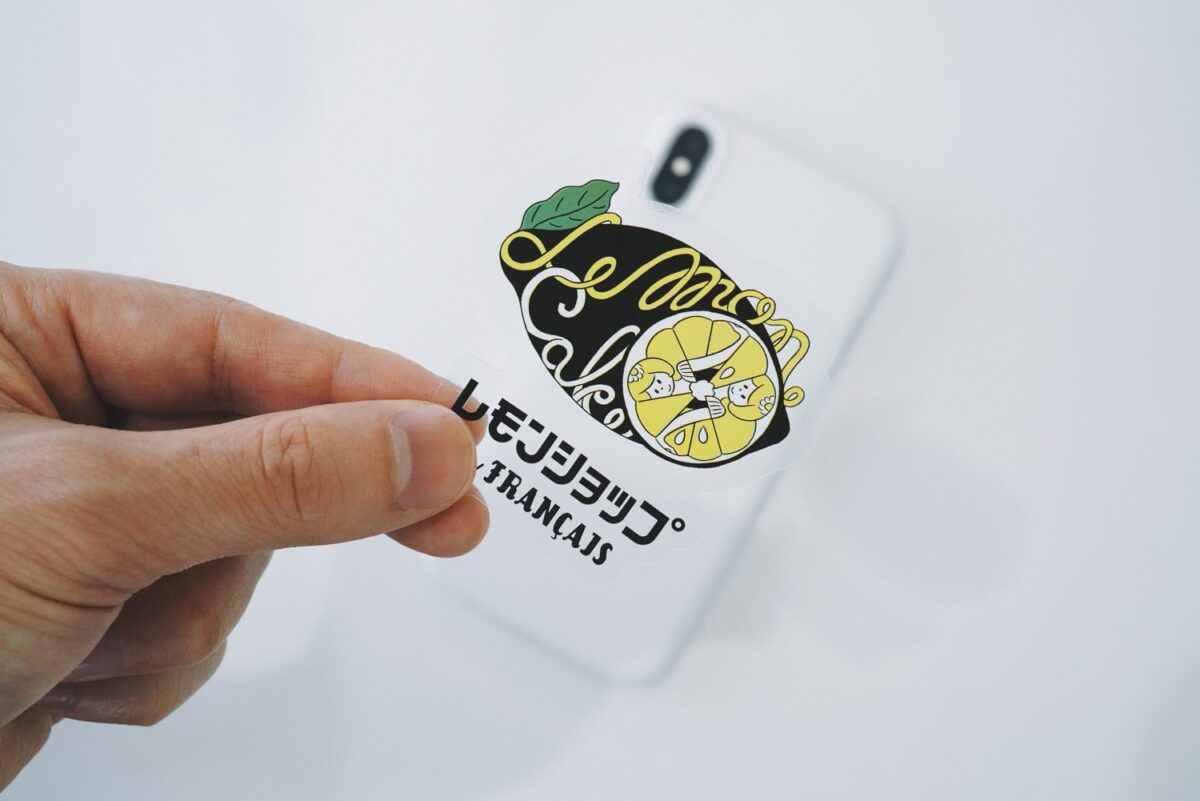
Unlike white stickers, transparent stickers can be applied without hiding the contents, making them widely used for food and cosmetic labels, as well as for promotional merchandise. Their appeal lies particularly in how logos and designs stand out when applied to colored products.
This article introduces the creation methods, materials, and important considerations when making transparent stickers. If you are considering making transparent stickers, please refer to this guide.
As a specialist in product labels and sticker printing, we create a wide range of custom stickers. If you want to create attractive labels for your products, feel free to contact us using the links below.
Please feel free to contact us.
TOC
How to Make Transparent Stickers
There are two ways to make transparent stickers.
- DIY
- Requesting a specialized sticker printing company
Method 1: DIY
The typical DIY method for making transparent stickers involves designing them on a computer and printing them out with a printer. This is convenient for making small quantities, but it can be difficult to achieve the desired colors and adjust them using a home printer.
Below are the advantages and disadvantages of making transparent stickers yourself.
| Advantages | ・Can be made from one piece ・Low budget ・Can start immediately |
| Disadvantages | ・Water-based inks are extremely weak to water ・Not suitable for large quantities ・Cannot do white underprint (printing white as a base), so the print may not stand out on dark items. |
While making transparent stickers yourself can save costs for small quantities, it is recommended to use a specialized sticker printing company if you need a large amount. Consider the advantages and disadvantages when planning to make transparent stickers yourself.
Method 2: Requesting a Specialized Sticker Printing Company
If you want to focus on quality, it is recommended to request a specialized sticker printing company. While it takes time for estimates, design consultations, and material selection, you can create high-quality transparent stickers.
Below are the advantages and disadvantages of requesting a specialized sticker printing company.
| Advantages | ・High quality ・Wide variety of materials ・Can be made in easy-to-use shapes |
| Disadvantages | ・Higher cost compared to DIY ・Longer delivery time compared to DIY ・Need to convey a specific image |
If you prioritize the quality of the final product, using a specialized sticker printing company is the best option. The procedure for requesting a printing company is summarized in the article "Steps for Requesting a Specialized Sticker Printing Company".
If you want to know more about how to create product packaging, please refer to the following article.
How to Create Product Packaging: Methods for Creating a Higher Level of Presentation
4 Steps to DIY Transparent Stickers
The steps to DIY transparent stickers are as follows.
- Create the design
- Prepare commercial sticker paper
- Print with a printer
- Cut the printed sticker to the desired size
Step 1: Create the Design
First, create the design using a computer or smartphone.
Using free design tools like Canva or Adobe Express, even those with little design experience can easily create designs. These tools offer a variety of templates, making them user-friendly for beginners.
Step 2: Prepare the Sticker Paper
Transparent label sticker paper is commercially available and can be purchased online. The commonly used material is transparent PET (polyester film). Pay attention to the following two points when purchasing sticker paper:
| Printer Type | ・Transparent PET has paper for inkjet and laser printers ・Choose paper compatible with your printer |
| Film Type | ・Films can be semi-transparent or glossy ・Choose based on your preferred finish |
Step 3: Print with a Printer
Next, print using your printer. Be aware that using a home printer might result in rough printing, making the quality appear cheap.
Home printers are typically designed to use white paper and do not have white ink. Therefore, if you want to include white in your design, you need a printer that supports white ink.
Step 4: Cut the Printed Sticker to the Desired Size
After printing, cut the stickers to the desired size using scissors or a cutter. Cutting requires care and can be time-consuming.
While DIY transparent stickers are possible, be aware of the time and effort required and the potential for uneven cut lines. Plan your work carefully if you decide to DIY.
5 Steps for Requesting a Specialized Sticker Printing Company
The main process for requesting a specialized sticker printing company is as follows:
- Get an estimate
- Create the design
- Place the order and submit data
- Check the prototype
- Receive the finished product
Step 1: Request a Quote
First, request a quote through the form on the homepage. Providing the following information will help generate a more accurate quote:
- Size
- Shape
- Order quantity
- Design image
If you have any concerns about the material or adhesive type, feel free to consult with the company. A specialized sticker printing company will have staff with expert knowledge to help select and propose the optimal materials and adhesive types.
By getting professional help, you can receive advice on materials and designs that you might not have chosen on your own. Being able to consult while creating is a significant advantage of using a specialized sticker printing company.
Step 2: Create the Design
The design is usually prepared by the customer. However, if you want to proceed more efficiently, choosing a printing company that also handles design is recommended.
Our company offers free templates that can be downloaded, as shown in the image below, to match the type and purpose of the stickers being created. These templates facilitate smooth design creation using tools like Illustrator.
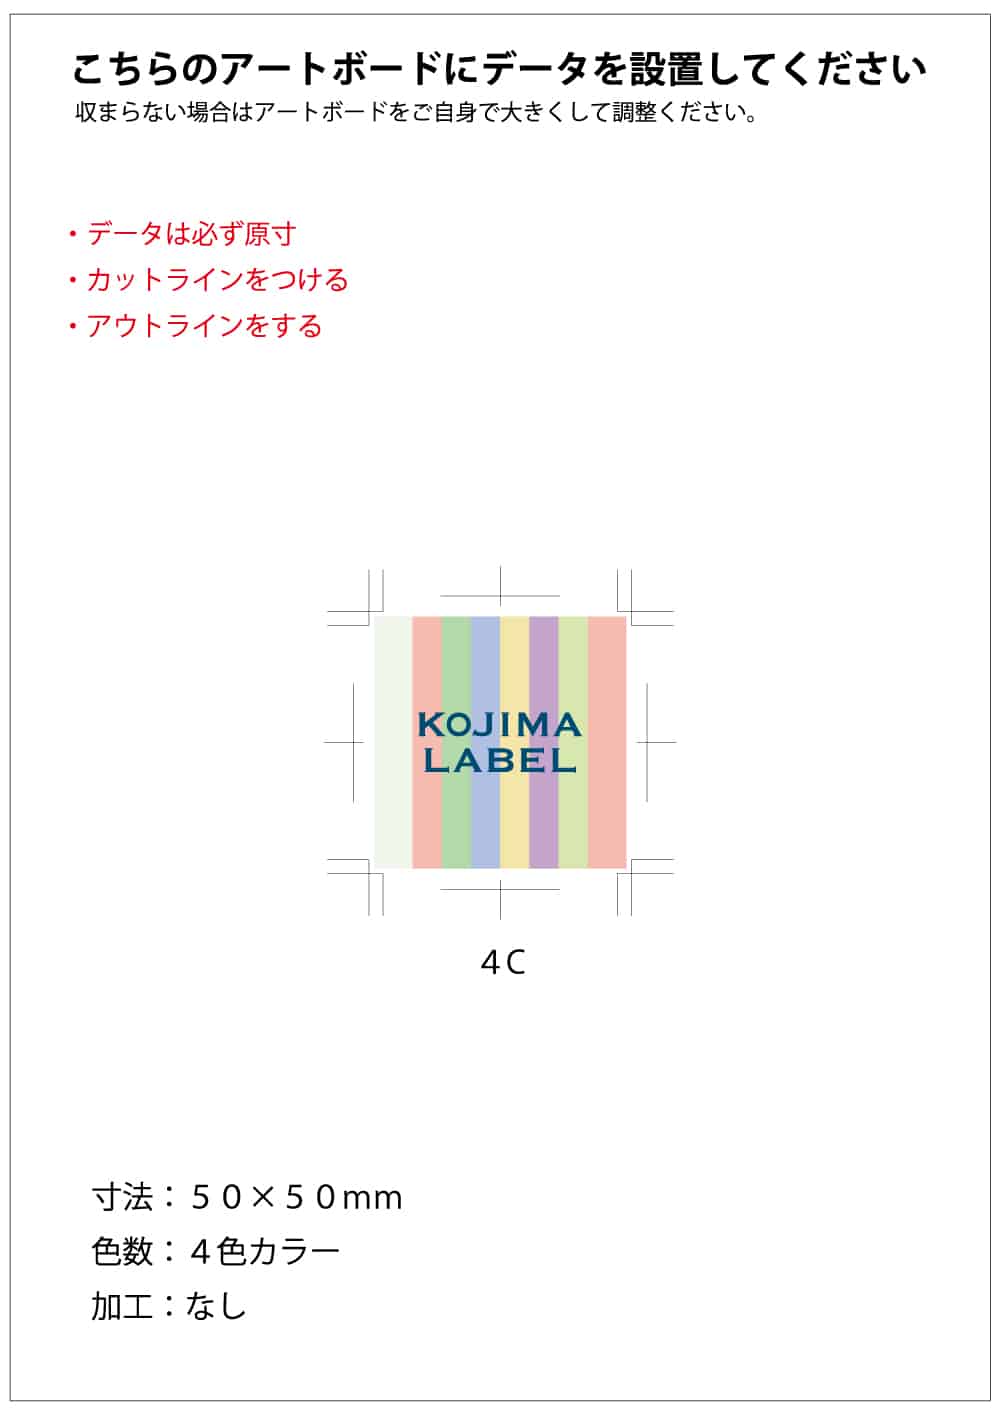
When designing transparent stickers, imagine the appearance of the package or bottle to which the sticker will be applied. Since the background color and material significantly impact the design, it's essential to consider these factors as you proceed.
For those interested in points on designing product labels, please see the following article:
Step 3: Place the Order and Submit Data
Once the design is complete, place the order and submit the data. When submitting design data to the printing company, you may need to make adjustments, such as color proofing or creating prototypes, depending on the order quantity and the scale of the product.
If you are particular about the finish, it is recommended to do color proofing or create prototypes, which might be chargeable. However, for personal use or small-batch, low-budget cases, prototypes are rarely made.
Prototypes allow you to check the actual product's appearance and make adjustments if necessary. Paying attention to subtle differences in colors can lead to a highly satisfactory transparent sticker.
Step 4: Check the Prototype (if conducted)
When you receive the prototype, check whether it meets your expectations by matching it with the actual product.
It's crucial to thoroughly check if the product is made according to the initial image and design.
If there are any discrepancies or if you want to adjust the design, immediately inform the printing company. The benefit of prototypes is being able to confirm the finished image before mass production. For example, if you make 5,000 copies without a prototype and the data is incorrect, you will incur costs again when making another 5,000 copies.
Step 5: Receive the Finished Product
Once the stickers are delivered, the request is complete. Depending on the printing company, the created plates and molds are generally stored for a certain period (our company stores plates and molds for three years, and data is stored permanently).
When reordering, the cost can be lower than the initial order as the plate and mold creation fees are not required. Therefore, if you might reorder stickers, it is essential to check the storage period.
As a specialized sticker and label printing company, we also create transparent stickers. If you are planning to create transparent stickers, feel free to "Contact Us".
Two Materials Used for Transparent Stickers
The two main materials used for transparent stickers are:
- Transparent PET
- Transparent PP
Material 1: Transparent PET (Polyester Film)
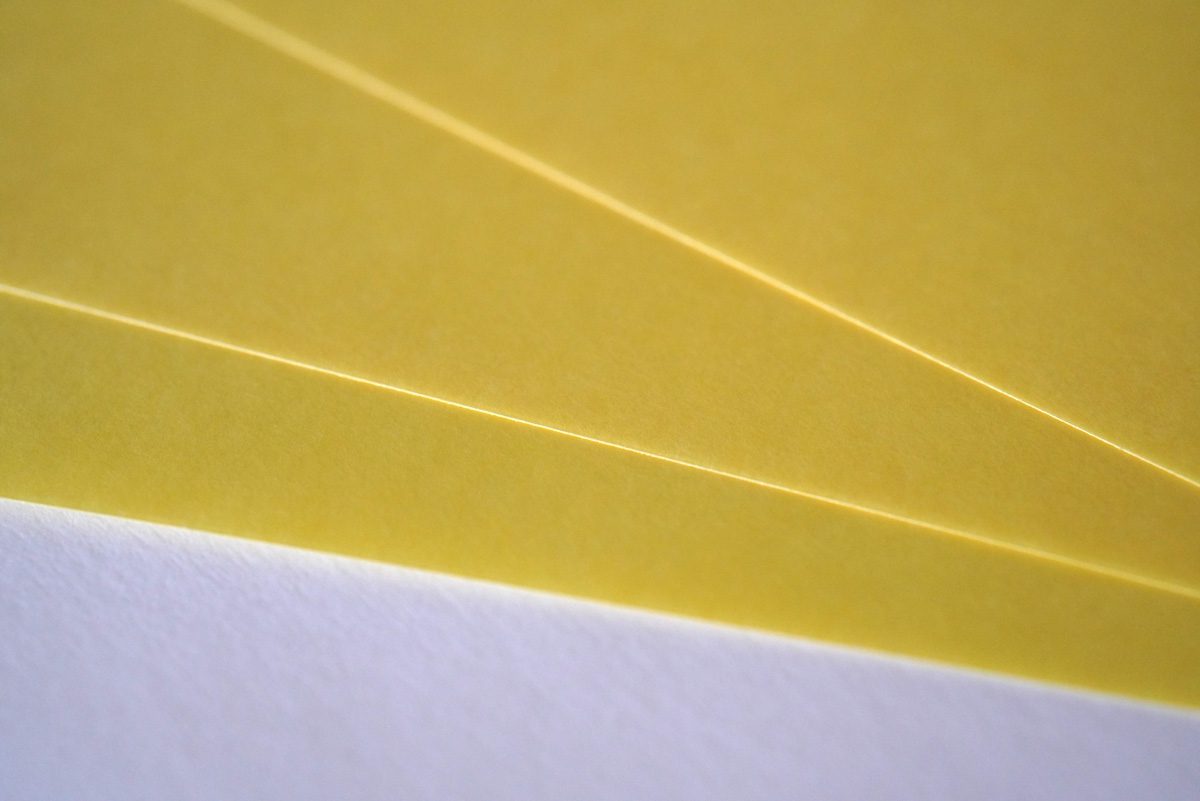
Transparent PET (polyester film) is the most commonly used material for transparent stickers and is widely used in label production. It has high transparency, is thicker and more durable compared to transparent PP, and is excellent in durability and water resistance. The texture is available in "glossy" and "matte" types.
Transparent PET is ideal for emphasizing the design of the product or sticker while keeping a low profile. For more details on transparent PET material, please refer to the following material introduction page:
Transparent PET is a durable film material. (The yellow appearance is the color of the backing)
Material 2: Transparent PP (Polypropylene)
Transparent PP (polypropylene) is a transparent plastic material characterized by flexibility and stretchability, mainly used for lamination. Because it is soft and stretchable, it is suitable for applying stickers to small diameter curved surfaces and has relatively strong water resistance. Therefore, it can also be used in bathrooms and kitchens.
The main difference between transparent PP and transparent PET is transparency. Transparent PP is slightly inferior to transparent PET material in terms of transparency, but the difference is not noticeable to the untrained eye. Also, in terms of durability, transparent PP is inferior to transparent PET material, so care is needed. Transparent PP is thinner and suitable for products with a small diameter, such as lip balm. Thick materials tend to warp, so when choosing thickness, consider the size and curvature of the product's surface to select the optimal thickness.
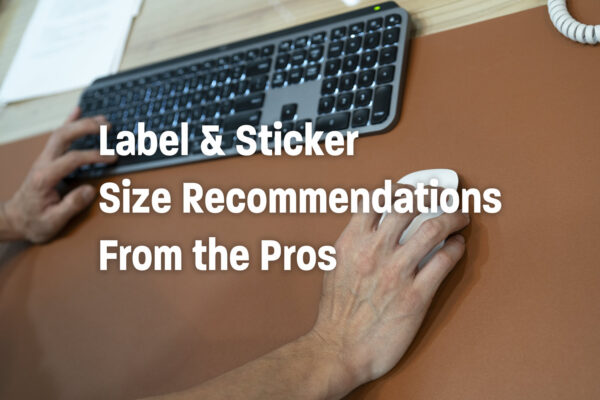
Points to Note When Creating and Applying Transparent Stickers

Transparent stickers require slightly more attention than regular paper stickers. Here are some points to consider when creating transparent stickers:
- Consider the color of the item to ensure a visible color and design
- Use a readable font
- Be cautious of bubbles as they are more noticeable
Note 1: Ensure a Visible Color and Design
When designing transparent stickers, you must pay attention to the background of the product.
The background here refers to what is visible behind the transparent sticker when it is applied.
For example, if you put white shampoo in a transparent bottle, the white of the shampoo is the background. If the design of the transparent sticker is similar in color to this white background, the logo or text may become difficult to see.
As a countermeasure, using colors that contrast with the background (complementary colors) is effective. Using complementary colors makes the design stand out and makes it visually easier to understand.
Note 2: Use a Readable Font
The font for transparent stickers should be highly visible and easy to read.
Stylish thin fonts may not be suitable for transparent stickers as their visibility can be compromised by the background. Especially small text or intricate designs can be difficult to read due to the influence of the background.
To improve readability, consider increasing the font size and widening the line spacing. When selecting a font, it is recommended to print it out at actual size on white paper to check the image.
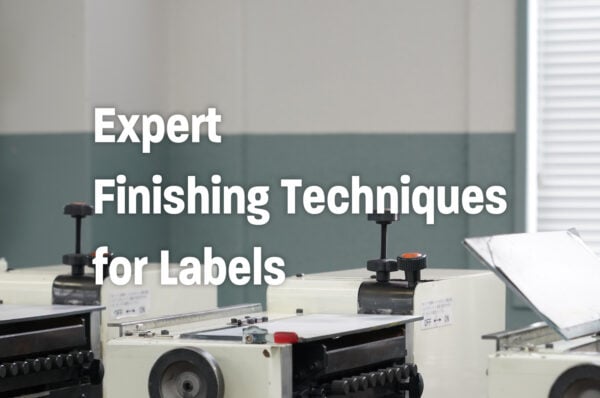
Note 3: Be Cautious of Bubbles

Transparent stickers are more prone to noticeable bubbles, so special care is needed when applying them to products. When applied manually, the pressure can vary, causing bubbles to form.
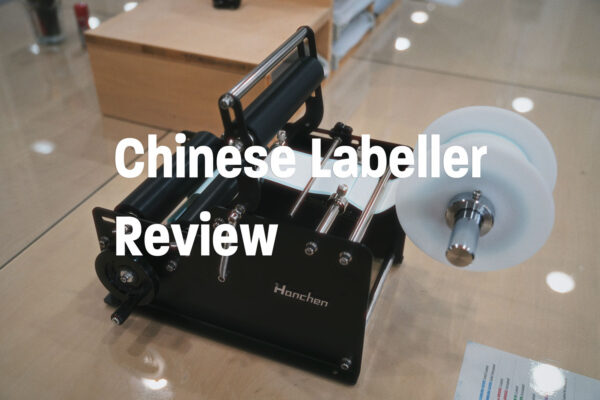
To avoid bubbles and apply transparent stickers neatly, it is recommended to use a labeler. A labeler is a machine that applies labels and can apply transparent stickers straight and in the same position while preventing bubbles.
By carefully applying transparent stickers to avoid bubbles, the appearance of the product is not compromised, resulting in beautiful creations.
It Is Recommended to Use a Specialized Sticker Printing Company for Transparent Stickers
Transparent stickers are widely used for food and cosmetic labels, novelty stickers, and merchandise. While you can make them yourself with a home printer, the results can be inconsistent, and it often takes a lot of time and effort.
On the other hand, if you order from a specialized sticker printing company, you can create high-quality transparent stickers exactly as you envision. Professional services, equipped with the necessary facilities and expertise, are also effective for differentiating your products from others.
As mentioned in this article, we create custom-made transparent stickers and various types of labels and stickers. If you are considering creating transparent stickers, feel free to contact us below. We accept quote requests 24 hours a day.

Start Your Project Now!
Contact Us or Get a Quote!